
Azure is one of the most popular cloud platforms that provide a vast number of services including simple Web App hosting to advanced Machine Learning solutions. Although all these new technologies and terminologies sound very complex it’s very easy to get started with the basics. And the best part is that if you are a University student you get the first hand experience free of charge. Microsoft with the imagine(former DreamSpark) Subscriptions offer a variety of basic services such as hosting web applications and mobile application back end servers as well as Databases free of charge for university students.
Any student with a Microsoft account and a verified Imagine profile can sign up for the imagine subscription for free without requiring a credit card or any other payment information. If not for the Imagine Subscription Azure also provides a free trial for services up to 200$ and it provides more services than the Imagine subscription but you would require a credit card to start off this service plan.
Let’s take a look at how to create a Microsoft Imagine subscription and Start working with Azure, if you already have a verified imagine profile skip to Step 3.
Step 1: Making Your Imagine account.
To make an Imagine account you need to head over to https://imagine.microsoft.com. With this link you will be directed to a web page as shown below.
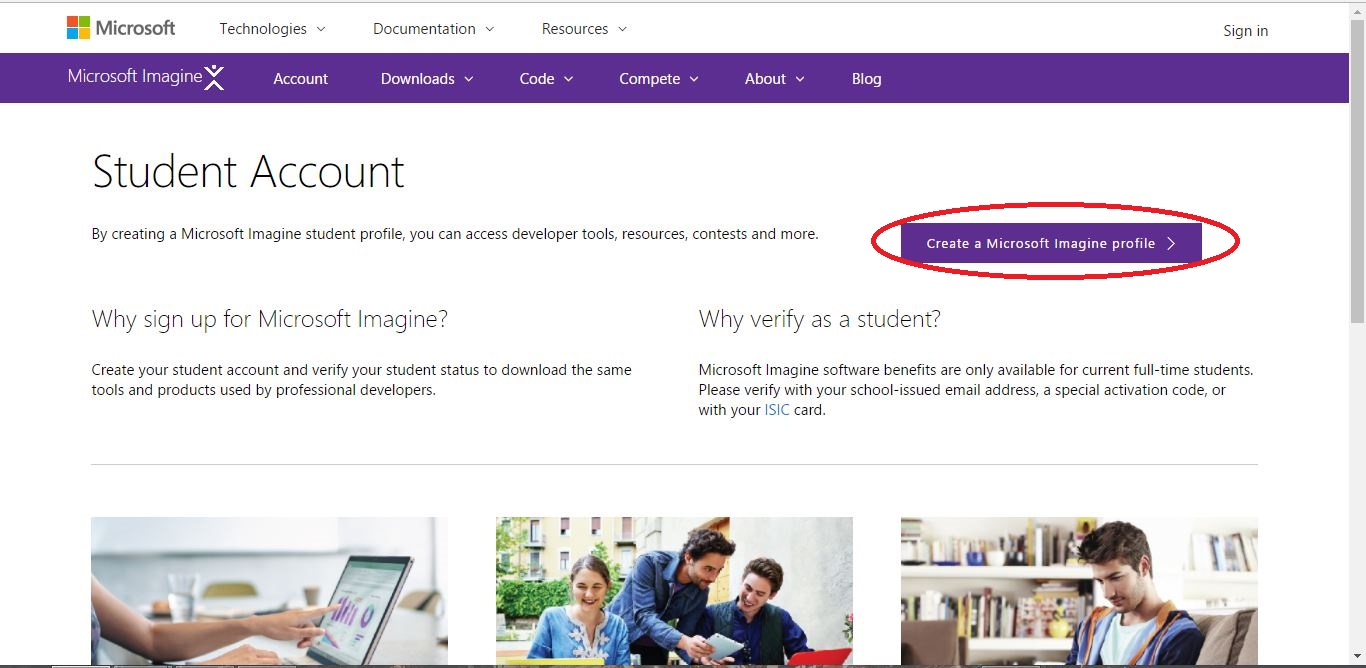
Click on the “Create a Microsoft Imagine profile” Button.
You will now have to insert your Microsoft account credentials to continue. Once you enter your credentials you will have to enter details about yourself and your institution. And with that you have success fully created your Imagine profile. But not so fast! You are not eligible to get an imagine subscription or any other Microsoft products that are available for you as you have not verified your student status yet.
Step 2: Verifying Student Status
To verify your student status you can easily use your university email address. Most of the email addresses with “.ac.” in them will be considered as an academic email address and will suit this purpose.
On your account page you will find a link to verify your student status on the top right corner below the navigation bar. Click on the link and you will be directed to a page to enter your verification details.
Once you are directed to this page you can choose any method to verify your student status but for the sake of this tutorial we will be using the email verification method.
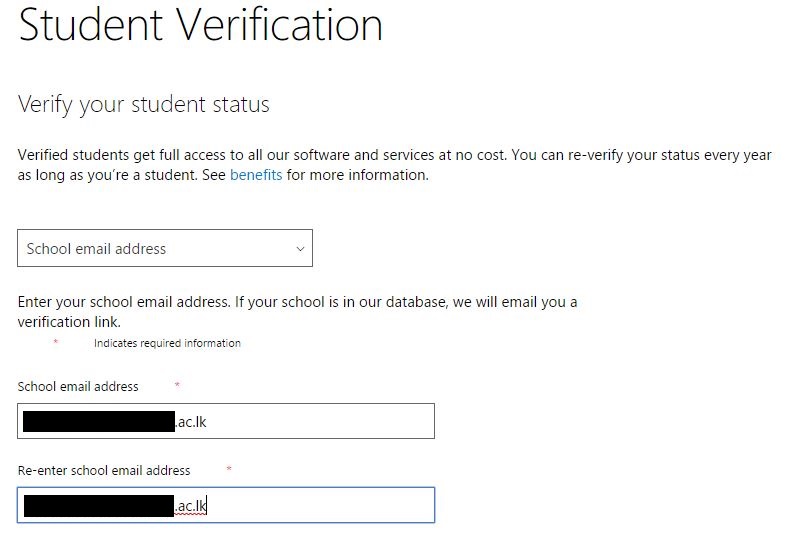
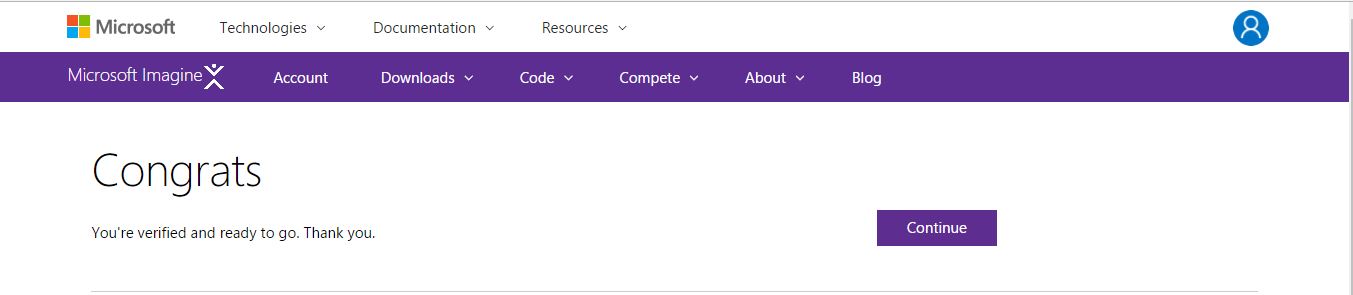
Once you enter the email address given to you by your institution you will receive an email with a verification link. You will have to click on this link to complete your verification. After this is done you will get a confirmation message on your account page, but if you still see the “Verify your student status” link in your account page click on it once again and it will finalize the verification process and display the confirmation message as shown below.
Step 3: Registering with Microsoft Azure
In the Navigation bar click on the “Downloads” option and then select the “Software Catalog” option.
In the Software Catalog page scroll down towards the “Featured” section and click on “Get Azure”
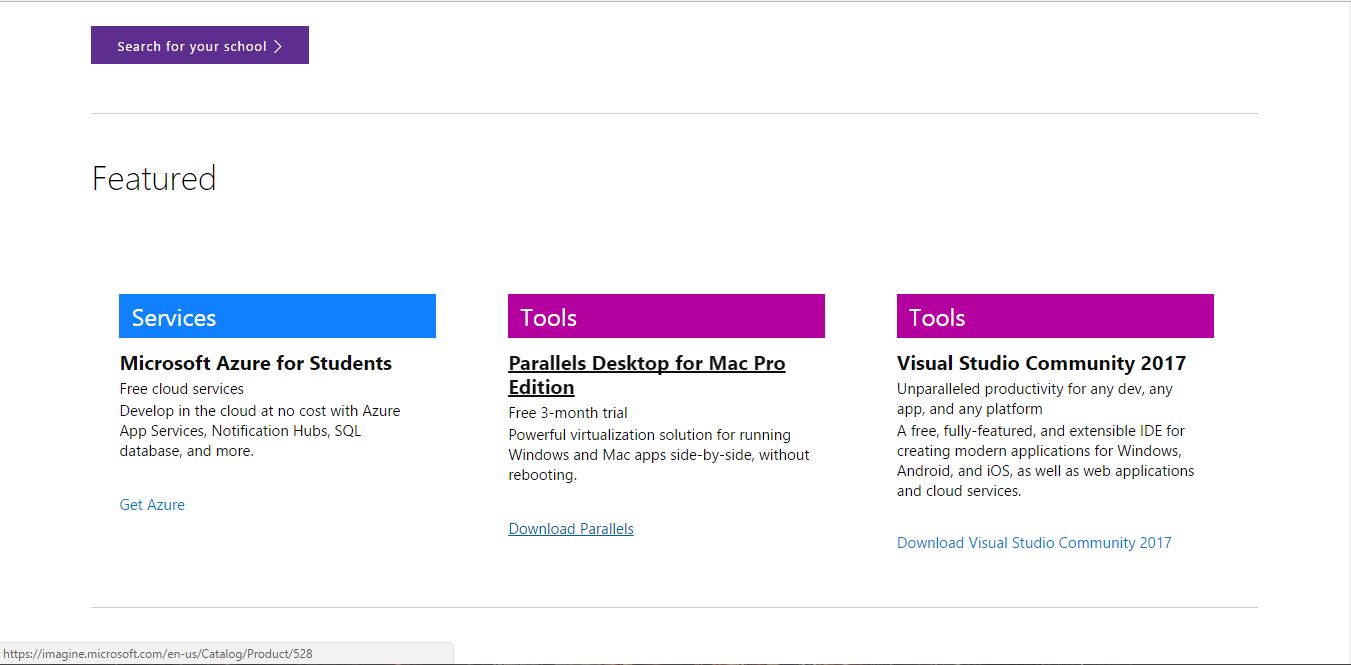
Once you click on the link you will be redirected to another webpage. Click on the “Register Now” button as shown in the image below.
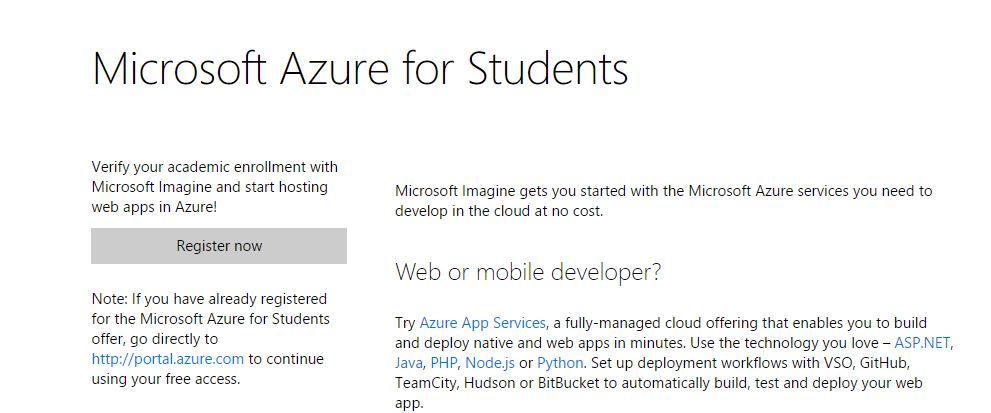
Upon clicking this button you will be redirected to a page where you would have to enter some details in order to create your Microsoft Azure Account. Once you create your account you will be shown a message as below.

And Voila! Your new Microsoft Azure Subscription with Imagine has been created.
Step 4: Getting Started With Azure
The Portal
To create any services you would first need to head over to https://portal.azure.com/ .
You now have to select your Microsoft Azure Account in order to log in. Once you login you would be directed to your Azure Web Portal.

With the portal you can Create Manage and Monitor all Azure services. Do not hesitate to take the brief tour of the web portal provided by Microsoft as it gives an overview introduction about all the buttons and tabs in the portal. The UI of the portal is clean and simple to use, one key thing to remember about using the portal is that all your information will be displayed in “blades” and as you move along into additional details more blades will be added and all previous blades will also be displayed when scrolling sideways.
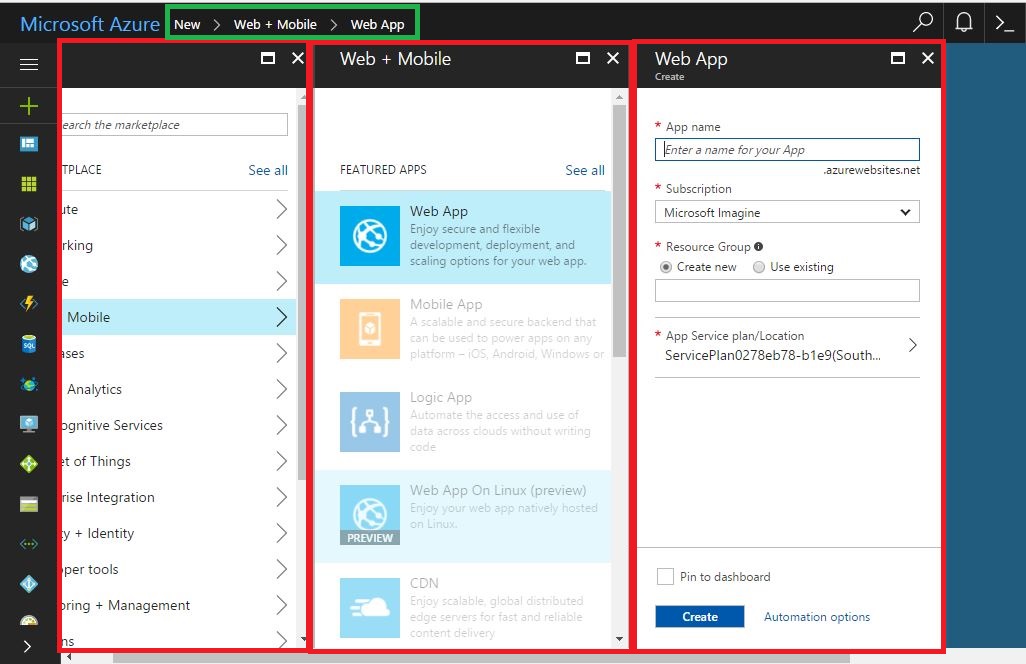
In the above image all the blades are highlighted in Red and the navigation bar is highlighted in Green. You can use the navigation bar to go into previous blades but it will close all the blades extending from it.
Available Services
With this Azure subscription you will only be able to activate some of the services provided by Azure. And most of the unavailable services are grayed out except for some cases. Some of the key services that can be used with the Imagine subscription are Web Apps, Mobile Apps, and Databases (Mobile Apps and Databases are grayed out but can be accessible with the Imagine subscription).
Creating a Service
Services can be created very easily in Azure you could search for them in the search bar or you could click on the “+” Symbol on the Portal to get a list view off all the services in an organized manner. For the sake of this tutorial we shall proceed to make a web service.
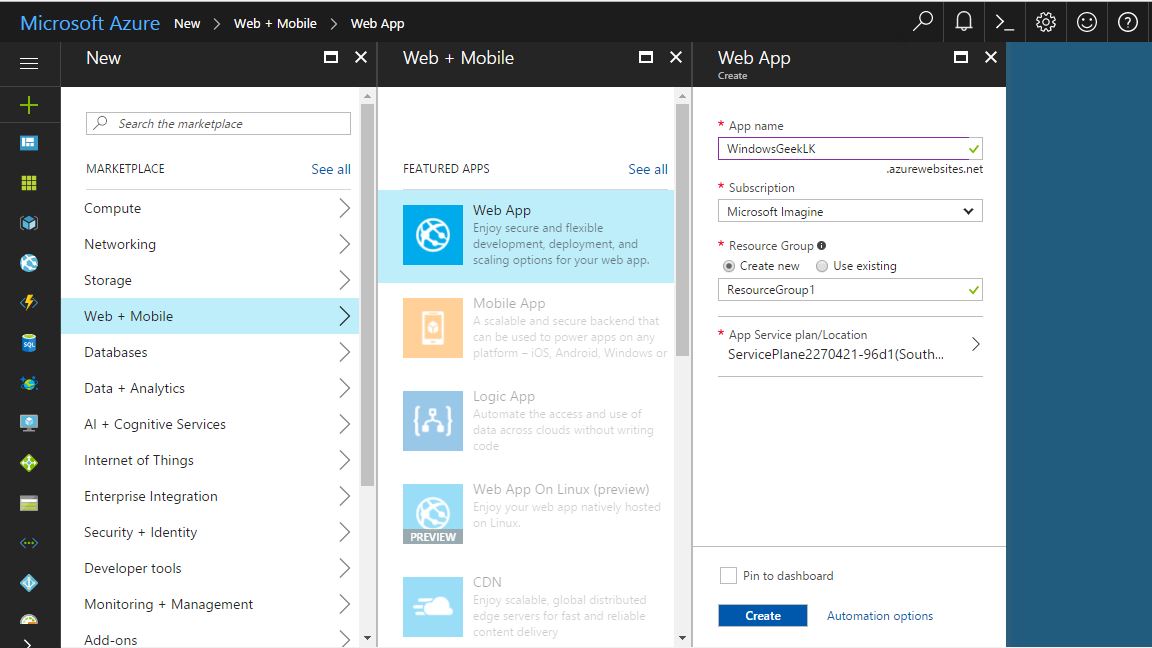
In the image above the path taken to create the web service is shown in the Navigation bar. And to create a service you would need to enter some basic information which is mentioned in detail below.
1) Application name
Your application requires a unique name, and it will be given an address with the “.azurewebsites.net” Domain name.
2) Resource Group
All resources in Azure go inside a Resource Group. This allows easy management of your resources.
The rest of the basic information are filled for you and could be changed manually if required. Hit the create button once you have finalized all the details that are filled in and you have successfully created your first web application with Microsoft Azure.
After the service has been deployed you can find it on your portal. Simply click on the service for an overview of it.
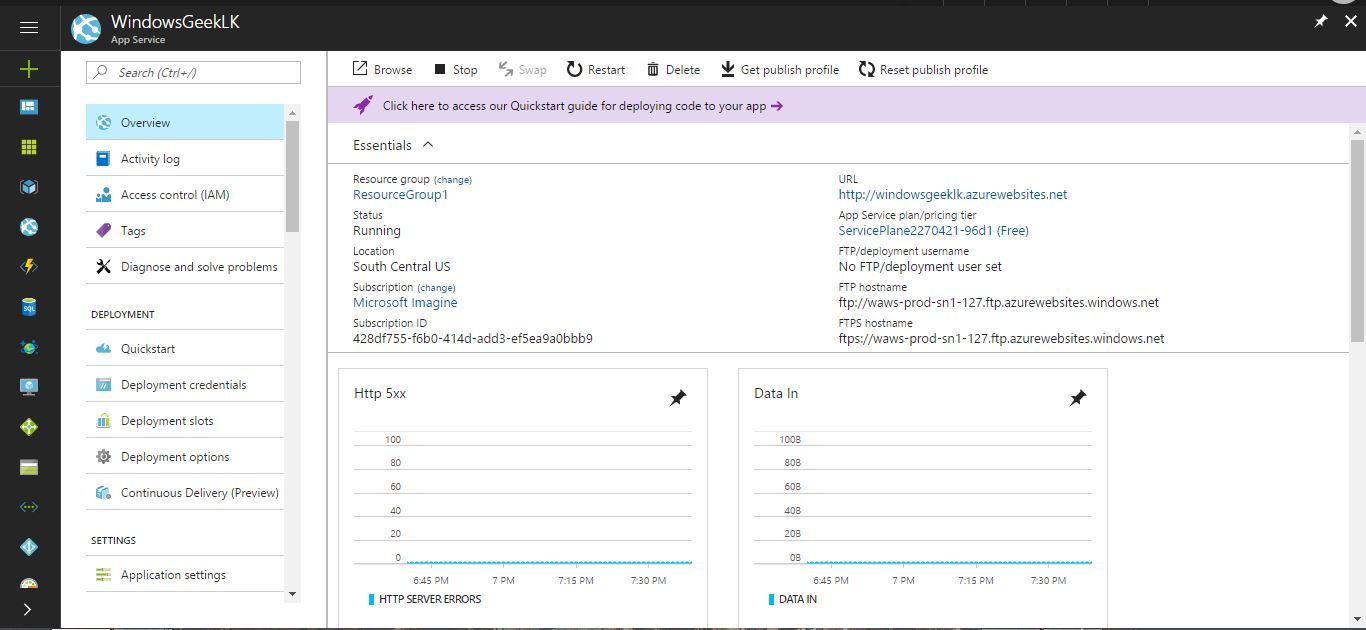
Click on the “Quick Start” link on the right option pane to deploy code to your application. You are provided with many technology stacks as options for your service. And you can continue building your service after you select your preferred technology stack.
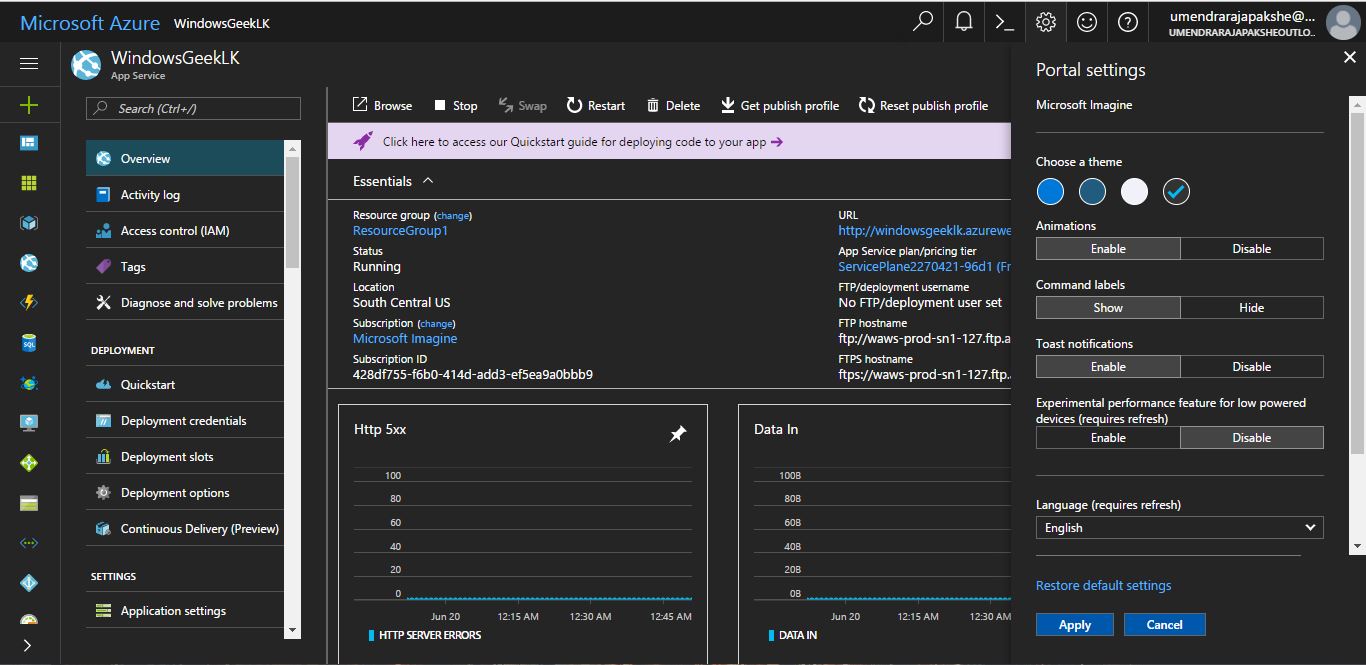
A pro tip before we conclude the article, you can customize your Portal to any theme you want, my personal preference is to use the dark theme as it’s soothing for the eyes and reduces eye strain when working for longer durations. You can easily change the theme by clicking the gear wheel button on the top right corner of your portal.
Although the Imagine subscription limits you to few services it’s better to use these services and get used to the Azure portal. If you need to expand your requirements you will have to upgrade your subscription. There are a lot more subscriptions available for different prices apart from the Imagine subscription where you can access more services such as IOT hub and hosting Virtual machines for a reasonable price, But the services currently provided by the Imagine subscription address most of the requirements of a University/School student and provides the basic understanding of the Azure platform very well.


")
