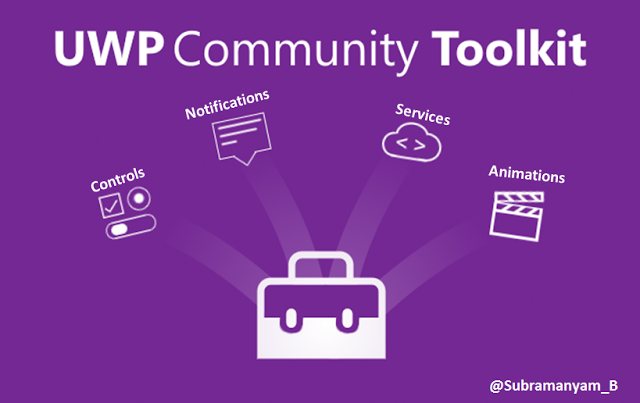
Are you fed up with typing the same code all the time or having a difficulty in developing some specific function? You don’t have to be worried or frustrated anymore because there is UWP(Universal Windows Platform) Community Toolkit which came up with Windows 10 update provides you with helper functions, custom controls, and app services when developing windows 10 applications. This toolkit can be used across PC, Xbox One, mobile, surface hub devices and HoloLens.
You could get UWP Community Toolkit in many ways
- Available as NuGet packages which you can integrate into any existing or new projects you develop using Visual Studio.
You could download it using below link and choose whatever the option you need https://developer.microsoft.com/en-us/windows/downloads
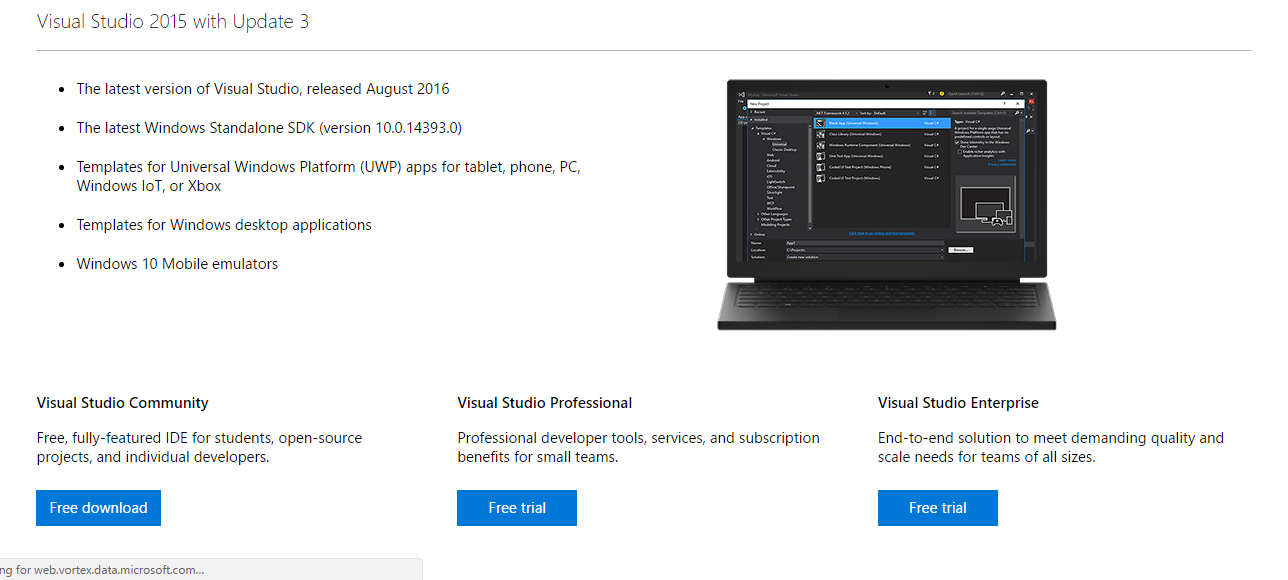
And just follow the proceeding.
In the Solution Explorer panel, you should click on your project which you hope to use UWP ToolKit, select the option “Manage NuGet packages ” and select any option you would like to add by adding
XML: like ;controls=”using: any option you like” Code to the top of your XAML page.
If you are programming using C# you should add
Using any optiolike; to the top of your code.
OK you might be wondering what are these options I was talking about earlier, I’ll talk about them later in this tutorial
2. By adding UI controls to the Visual Studio Toolbox
http://www.uwpcommunitytoolkit.com/en/master/Toolbox-Support/ – you could follow the steps in here.
- By referring the UWP Community GitHub repository
https://github.com/Microsoft/UWPCommunityToolkit where you have access to all functions, custom controls and app services included in UWP Community Toolkit.
4. By downloading UWP Community Toolkit Sample App which I’m gonna show you in detail as a review on all the functions available in the toolkit.
Before getting started you should download the sample app. You can download it the from the following link https://www.microsoft.com/en-us/store/p/uwp-community-toolkit-sample-app/9nblggh4tlcq
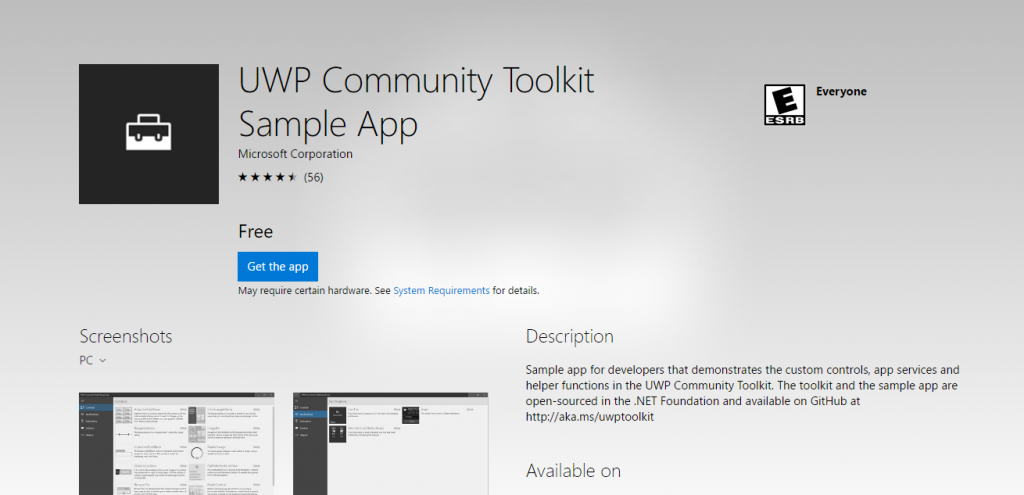
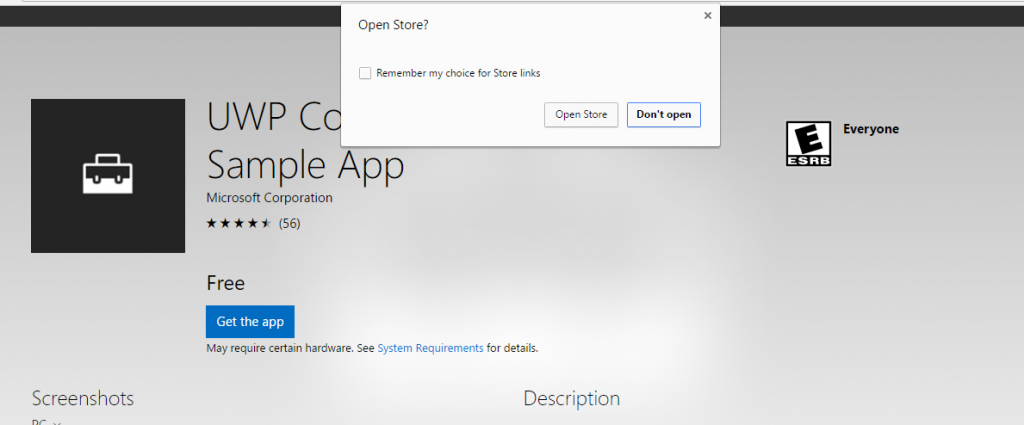
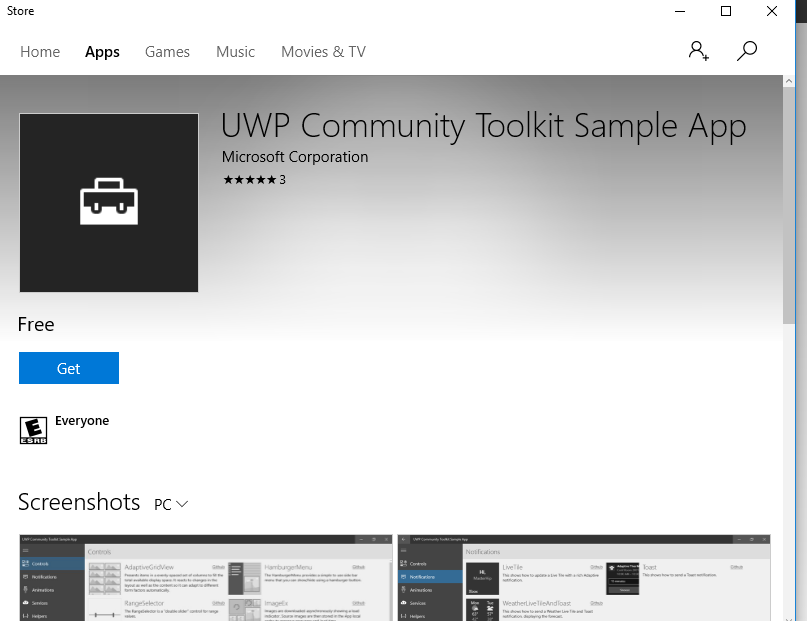
And after entering your Outlook, Hotmail, Live or MSN account details you could download the app.
So here we go,
After opening the app you could see five options in the dashboard.
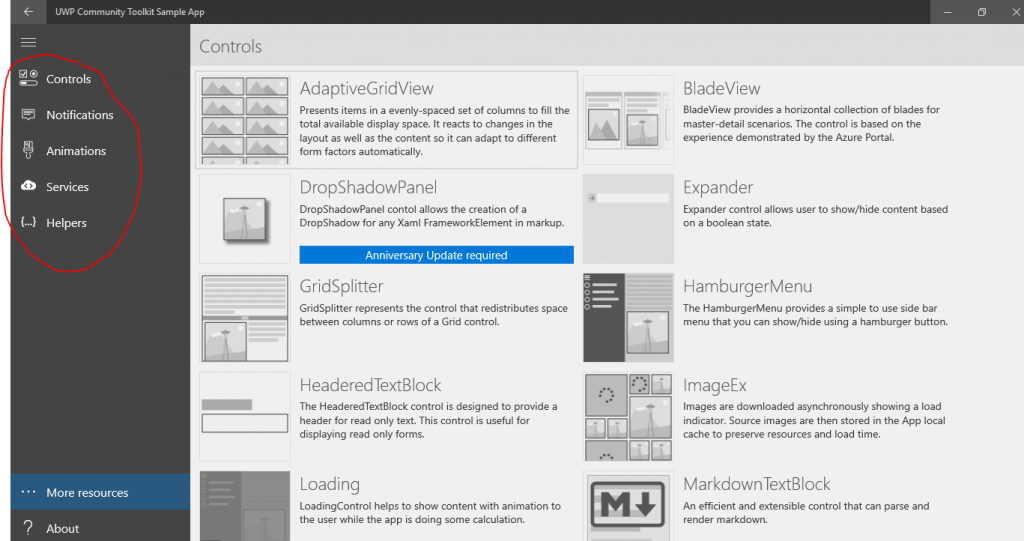
You can see mainly five options let’s go through them one by one.
Controls:
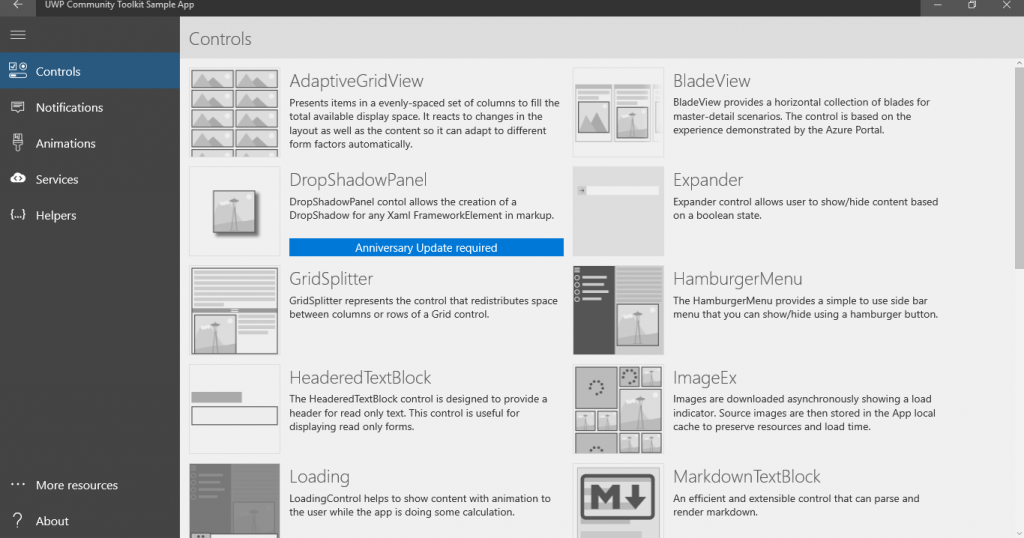
As an example, let’s click on “Adaptive Grid View”
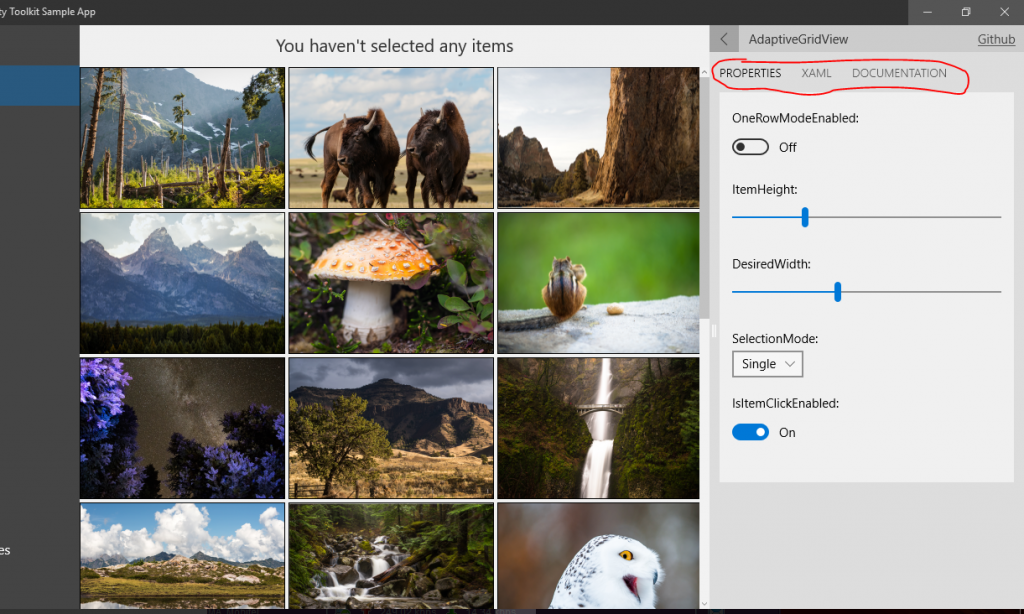
In figure 3.6 you could see I have drawn a red line which highlights three words PROPERTIES, XAML, and DOCUMENTATION,
According to the current selection; in Properties, you could see Item height, Desired width, Module and Item click Enables which you can adjust and get what you need,
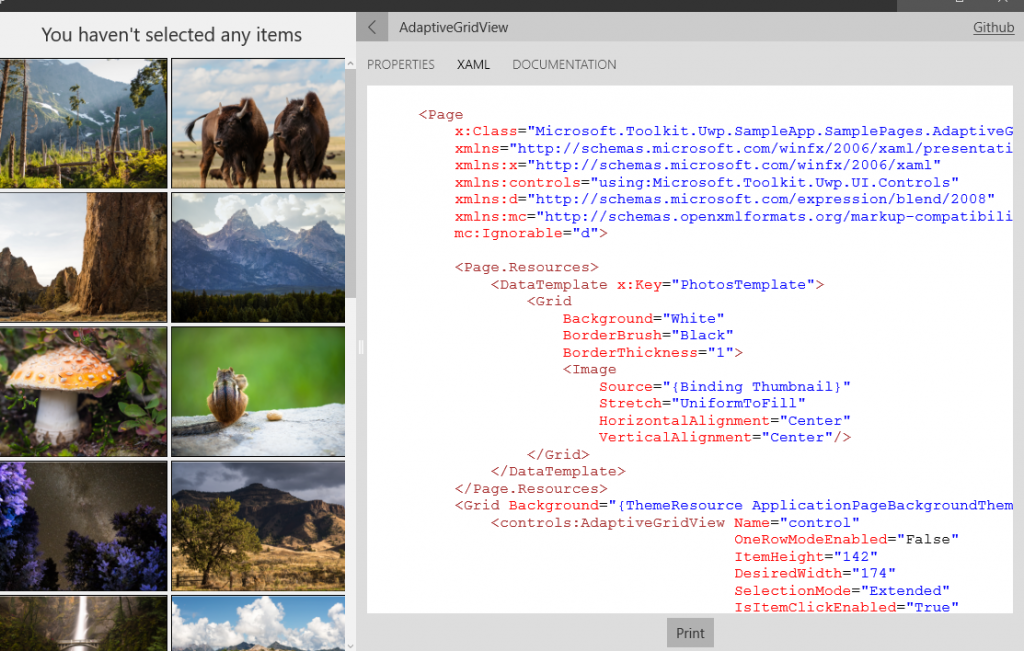
According to the XAML option, you could get the code which suites for the portrait. So you can copy the code and adjust it according to your needs.
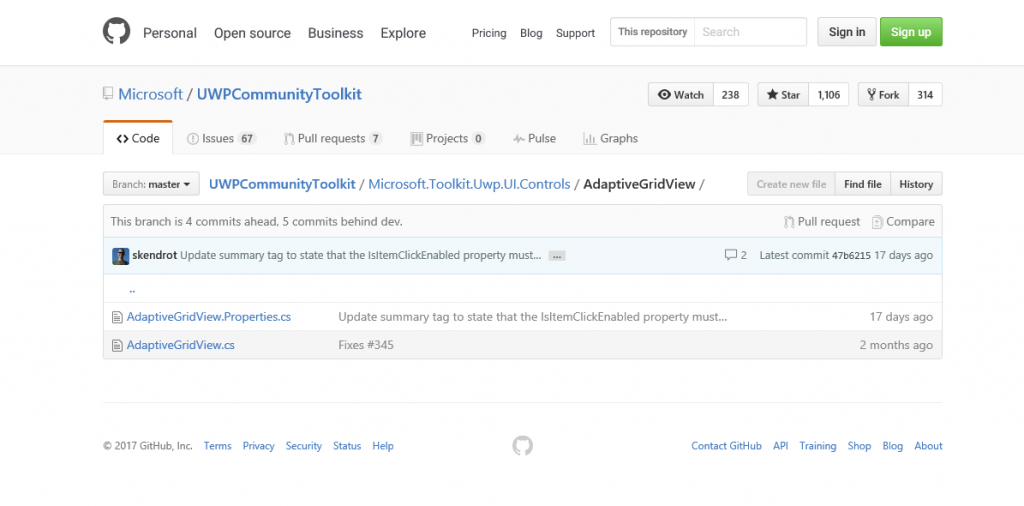
And by click on DOCUMENTATION, you could get all the APIs and other necessary details regarding the code. You can see an option called “GitHub” in figure 3.6 which direct you to the UWP Community Toolkit GitHub repository.
So in basically what “Control” option do is provide you codes which could suitably apply for any device(using grid system).
In other options, you can see the above features which are depicted in figure 3.6- 3.8
Notification: Provide notification visualizations.
Animations: Provide codes according to various types of animates.
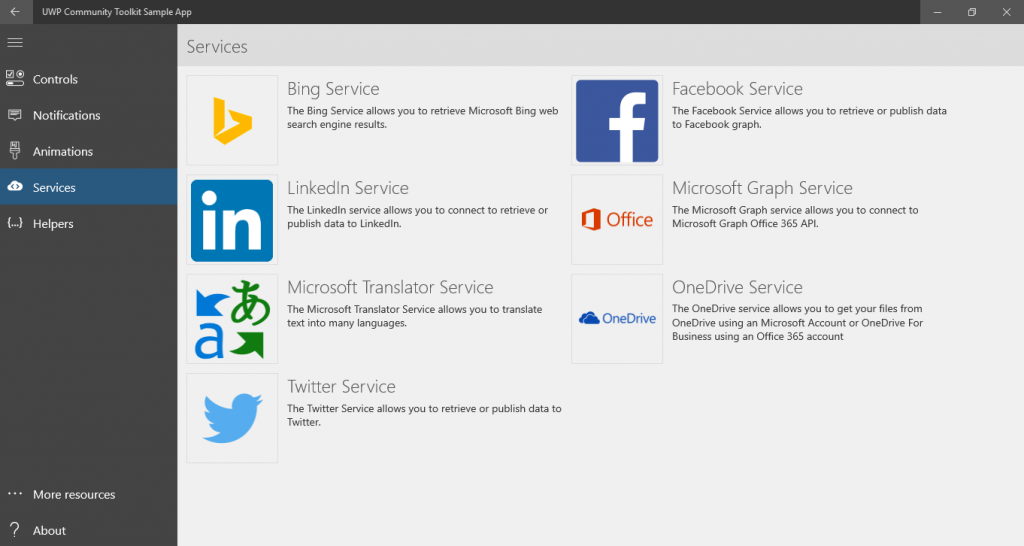
Services: There are various kinds of services you could get through this toolkit.
Hope you will create more fabulous user-friendly apps with the help of UWP Community Toolkit!

