
Well, we were talking about VScode quite a lot here in Windows Geek. So this time we thought to give you a heads up in using VScode for some web designing tasks., Well, actually we are going to talk about some front end web developments and how to make it easier with several tools together with VScode. So for this, we may need some certain tools to be installed on our computer.
First thing is nodeJS. Because we are going to use npm which comes with nodeJS, the package manager for the nodeJS. With npm you can manage hundreds of node modules out there. So our first step would be installing nodeJS. To do that just head to the https://nodejs.org/en/ [NodeJS official site]. At the front
At the front page, you could see the current stable version. At the moment latest version is 7.8 but the most stable version is 6.10 which they recommends. So it’s up to you. In my case I have already installed version 7. Okay to make it sure that you have installed nodeJS. Just open up a command prompt and just type “node -v” and it will prompt you the version. Okay, next step. But one more thing. Windows users you must pay attention to this. You may have downloaded nodeJS latest version, but the npm that comes with it doesn’t have the latest version. For this tutorial, it wouldn’t matter. But when you go to work with some other technologies like Ionic and
For this tutorial, it wouldn’t matter. But when you go to work with some other technologies like Ionic and Cordova it may cause some trouble. So I recommend you to upgrade your npm. You could use a very easy way to do this, follow this link. [https://github.com/felixrieseberg/npm-windows-upgrade]
Okay, now you must be having NodeJS installed in your machine. So now what we are going to do is install some node modules so we can use them to a make our things easier. As the topic of this tutorial suggests we are going to install gulp.
Actually, what is gulp? That’s a task runner. Which we can use to make our tasks easier as a web developer. For an example, in this tutorial, we are going to use Sass. If you don’t know much about Sass, it’s a CSS extension language. which gives a programmatic look to the CSS. And we can use Sass to make things more simple and easier.
But if you don’t know anything about Sass just don’t worry. It’s not that much of a big deal. If you need to take a look at it first, feel free to visit [http://sass-lang.com]. Sass is really good. But we can’t use it directly. we need to compile it to CSS to be used in a web page. This would be a tedious work during the development time. So we are going to use gulp to do the task for us. whenever we save the Sass file, gulp will watch it and would compile it to CSS. And I should mention you that with the Sass compiler which originally comes with ruby also has this file watcher. But we can do a lot more with a gulp. And people’s experience is that gulp is faster than the ruby Sass Compiler.
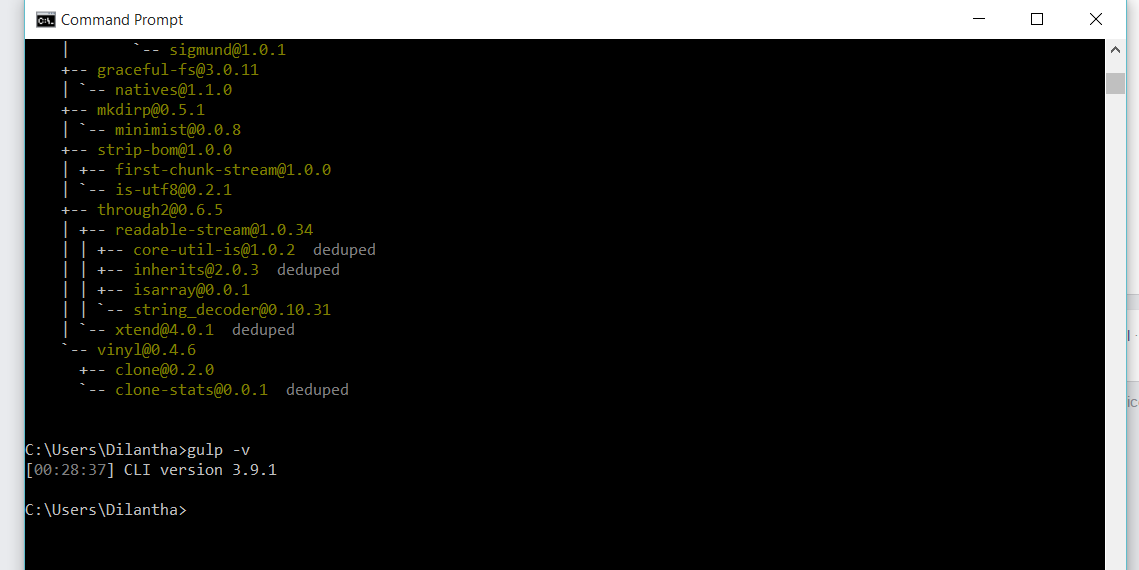
Okay let’s install gulp globally first. Just type in your command line “npm install gulp -g” linux and Mac users may use sudo before the command. This would install gulp globally. The difference when you install some node module globally is you can invoke them in command line. To make sure use “gulp -v”.
Okay now let’s create our project folder. For this, we are going to use npm. With npm we can create a package.JSON file automatically, which would hold all the information about the project. For an example author, description etc. And furthermore, it will hold all the dependencies.
IF you have no idea what are dependencies, just leave it there. we will come to talk about node and how to use it in another article. Okay now first create a folder which has the name “project” here you can use whatever the name you like. Okay now open up a command prompt and get inside the folder. And run the command “npm init”.
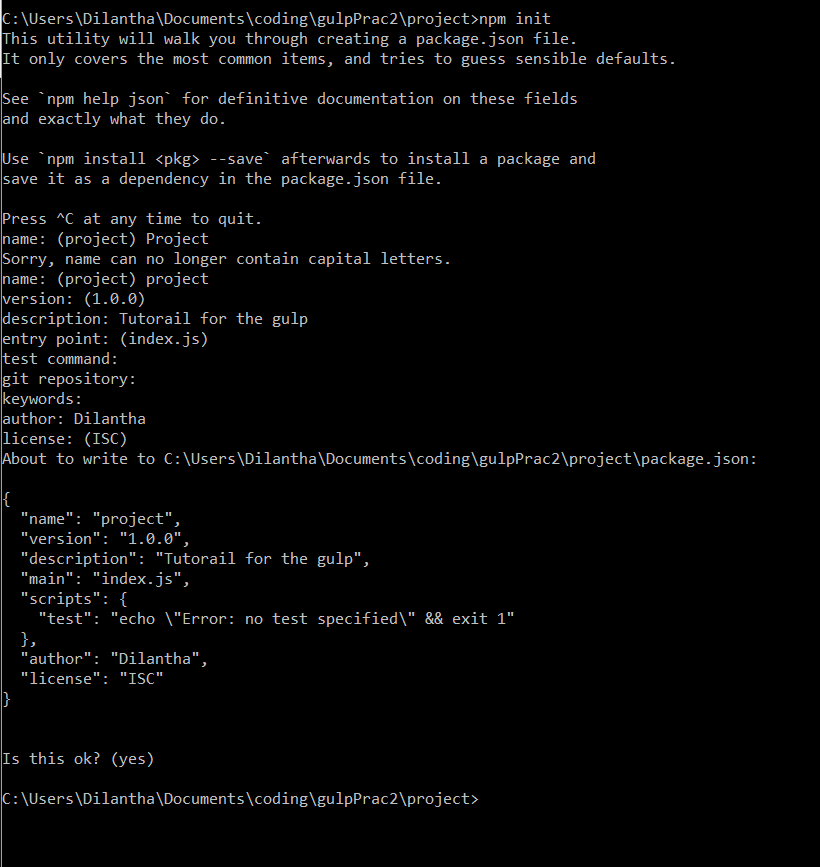
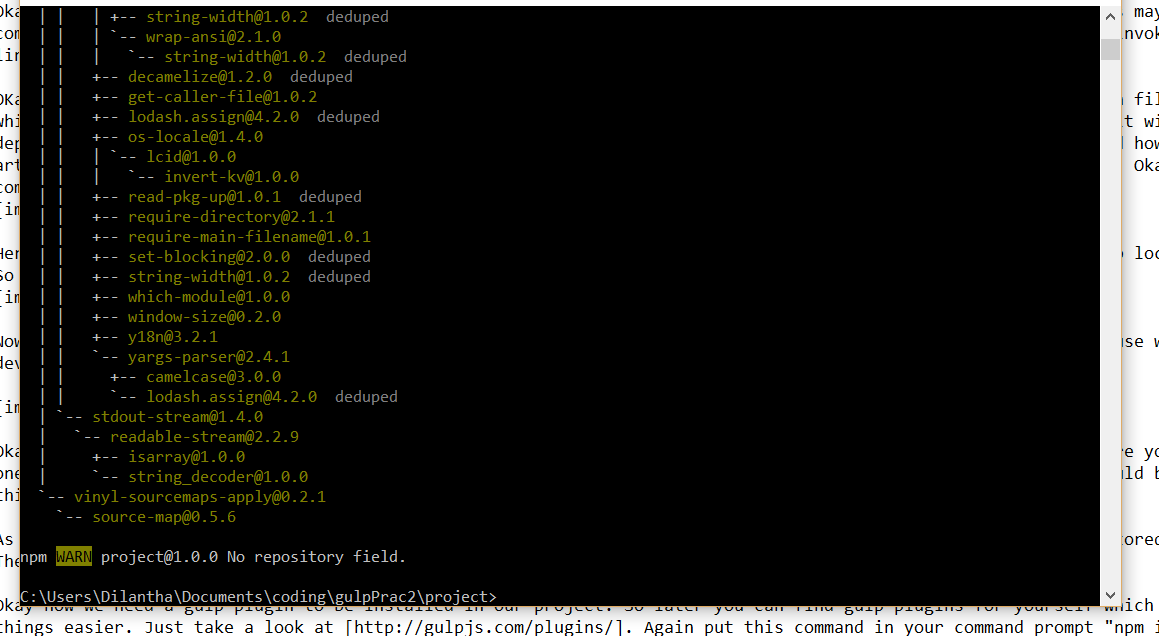
Here you can enter the details you want or you can just leave it for default values. Next step is to install gulp locally in your project. So we can write gulp tasks. Again put this command in your command prompt, “npm install gulp –save-dev”.
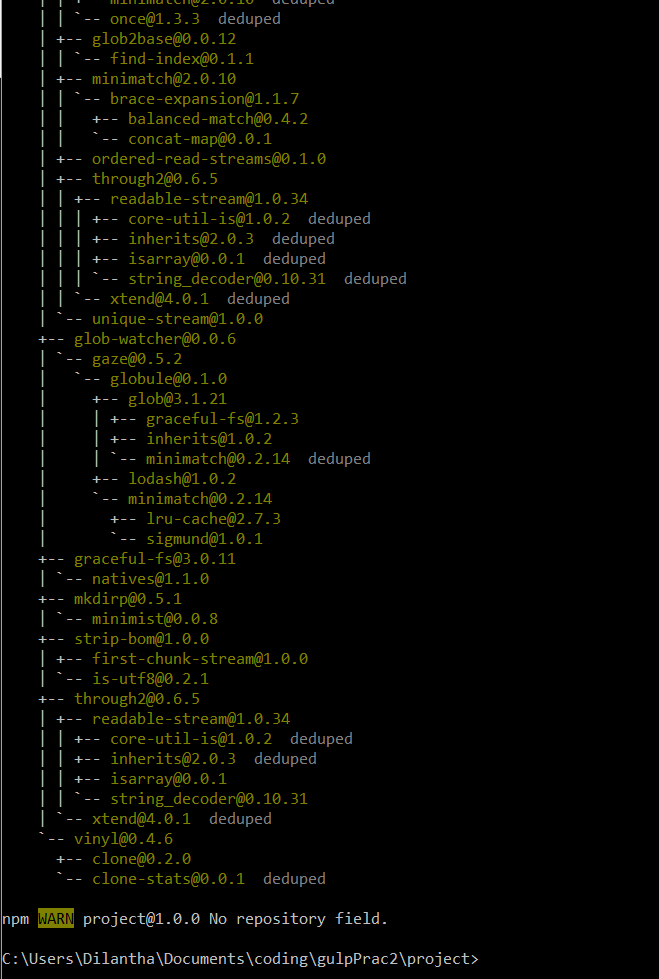
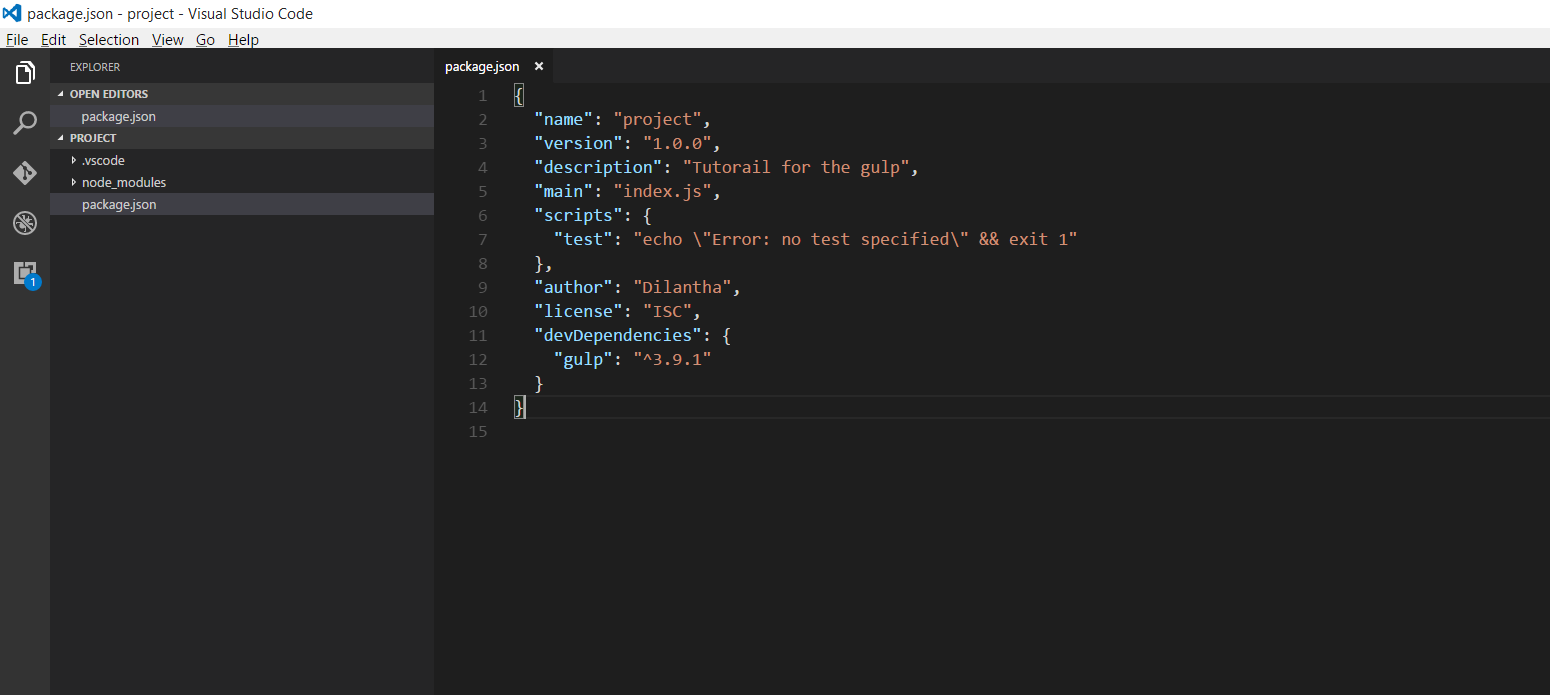
Now if you view your package.JSON file you could see that gulp has been inserted as a devDependancy. That’s because we include “–save-dev” flag in our command. Now to open VSCode put the “code .” command in your command prompt.
Okay, now we are going to create the folder structure for our project. You can create whatever the folder structure you like. But for this one let’s create a very simple folder structure. Remember according to your project structure your gulp tasks would be different. So for this one please create the folder structure same as mine.
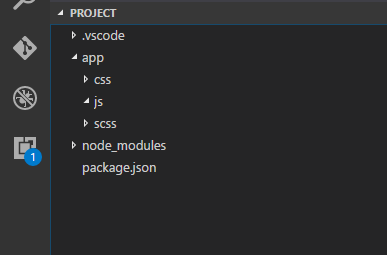
As you can see our codes will be in the app folder. And we would write Sass and it will compile to css and will be stored in the css folder. There are lot more things we can do with gulp. But for this tutorial let’s stick with Sass compilation.
Okay, now we need a gulp plugin to be installed in our project. So later you can find gulp plugins for yourself which would make so many things easier. Just take a look at [http://gulpjs.com/plugins/]. Again put this command in your command prompt “npm install gulp-sass –save-dev”. Now the gulp-sass plugin will be installed to your project.
Okay, now we are ready to go. Let’s creat a gulp file which would convert our .scss files into .css files whenever we create and save them.
create a new file named gulpfile.js and put it in the root directory. So we can put our gulp task in this file. You can write what ever the gulp task you want. If you are interested just take a look at http://gulpjs.com.
let gulp = require(‘gulp’);
let sass = require(‘gulp-sass’);
gulp.task(‘sass’, function() {
return gulp.src(‘app/scss/**/*.scss’)
.pipe(sass())
.pipe(gulp.dest(‘app/css’))
})
put this gulp task in your gulp file. If you are familiar with JavaScript you would find this is pretty straight forward. What this task does is searching for .scss files in app/scss/ folder and it’s subfolders and put them in the sass() function and then put them into the app/css folder. This is not enough for making the process automate. we need to put another task named watch. which will be watching for the changes in .scss files. Add the below code to your gulp file.
gulp.task(‘watch’, function(){
gulp.watch(‘app/scss/**/*.scss’, [‘sass’]);
})
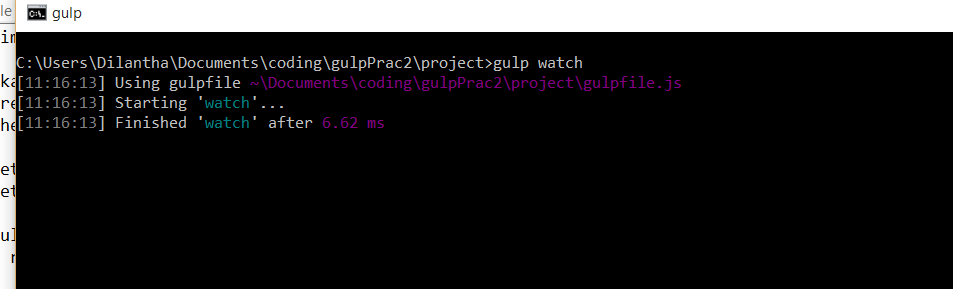
What this does is watching for the file changes in app/scss/ folder and it’s subfolders and if any changes happen to execute ‘sass’ task. Here you could give any name instead of this ‘sass’. That’s just the name of the task. Okay now let’s see how it work. Okay first let’s make a .scss file in our scss folder. So again open up your command prompt and run the command “gulp watch” which will start the file watcher. And here notice that this “watch” is the name that we gave for the tasks. Notice that watch works for file changes not creating new files.
In my case, I made a file named main.scss and let’s put some codes in it.
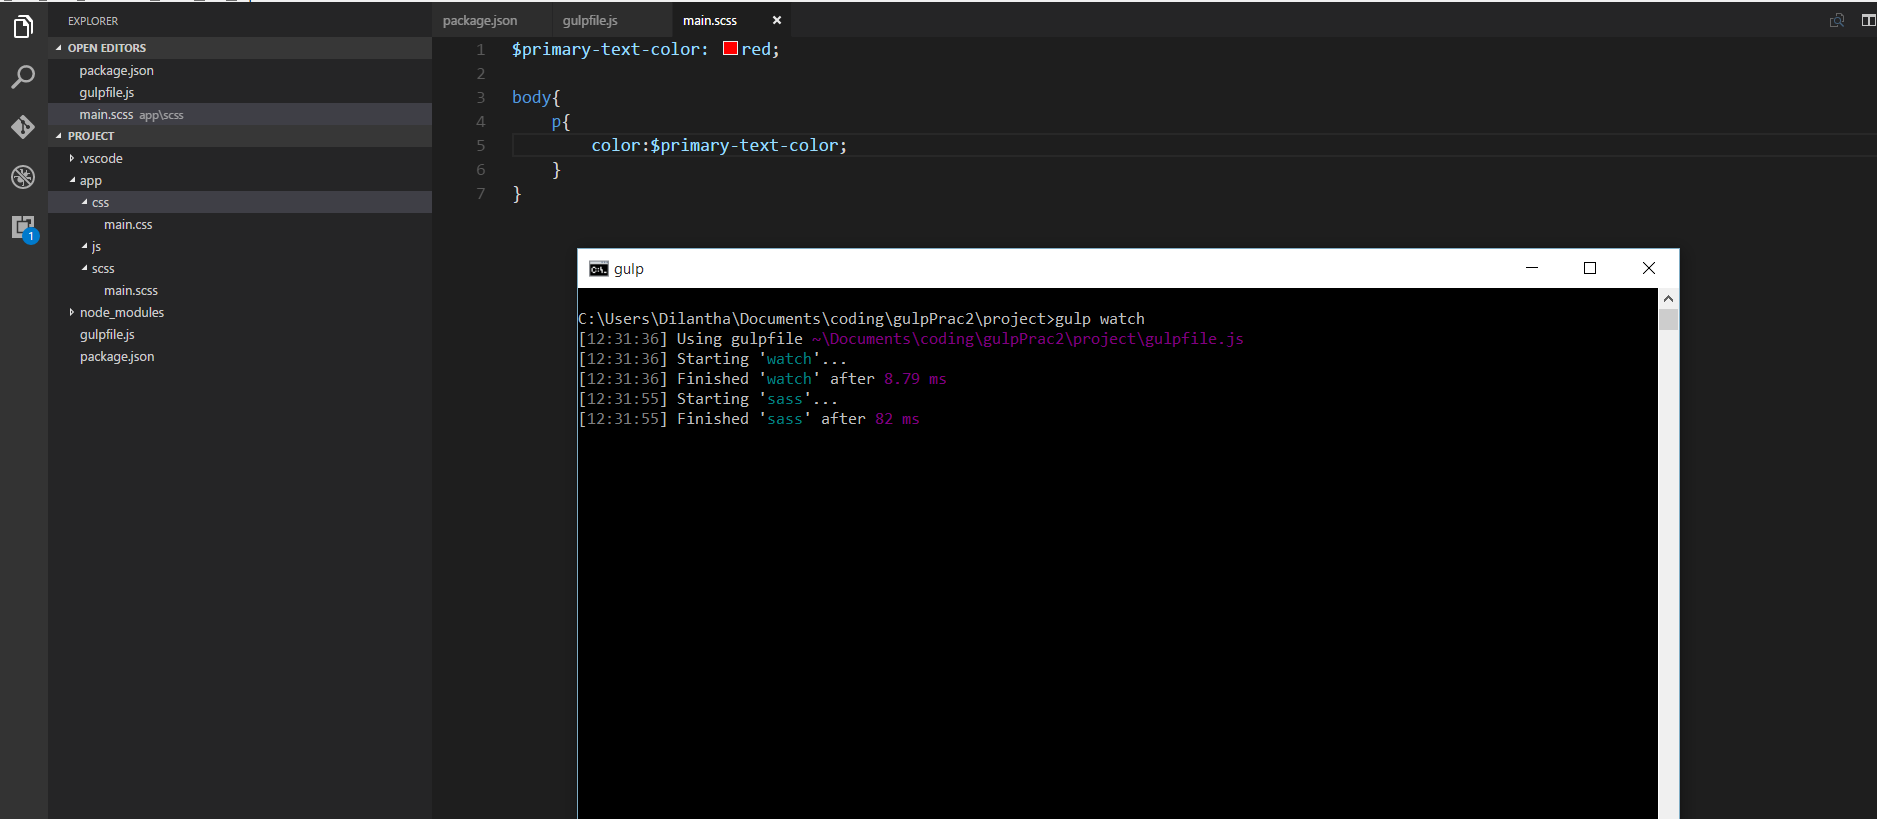
Okay now open saving that .scss file you could see that .css file will be generated automatically. With Sass you could do lot more things. And with VScode together with gulp make a rich development environment.
Well automatically genrating .css file is quite nice. But that’ not enough. In our next tutorial we would be discussing how to sync our browser to auto reload upon file changes. Untill then Happy coding !!!


")
