
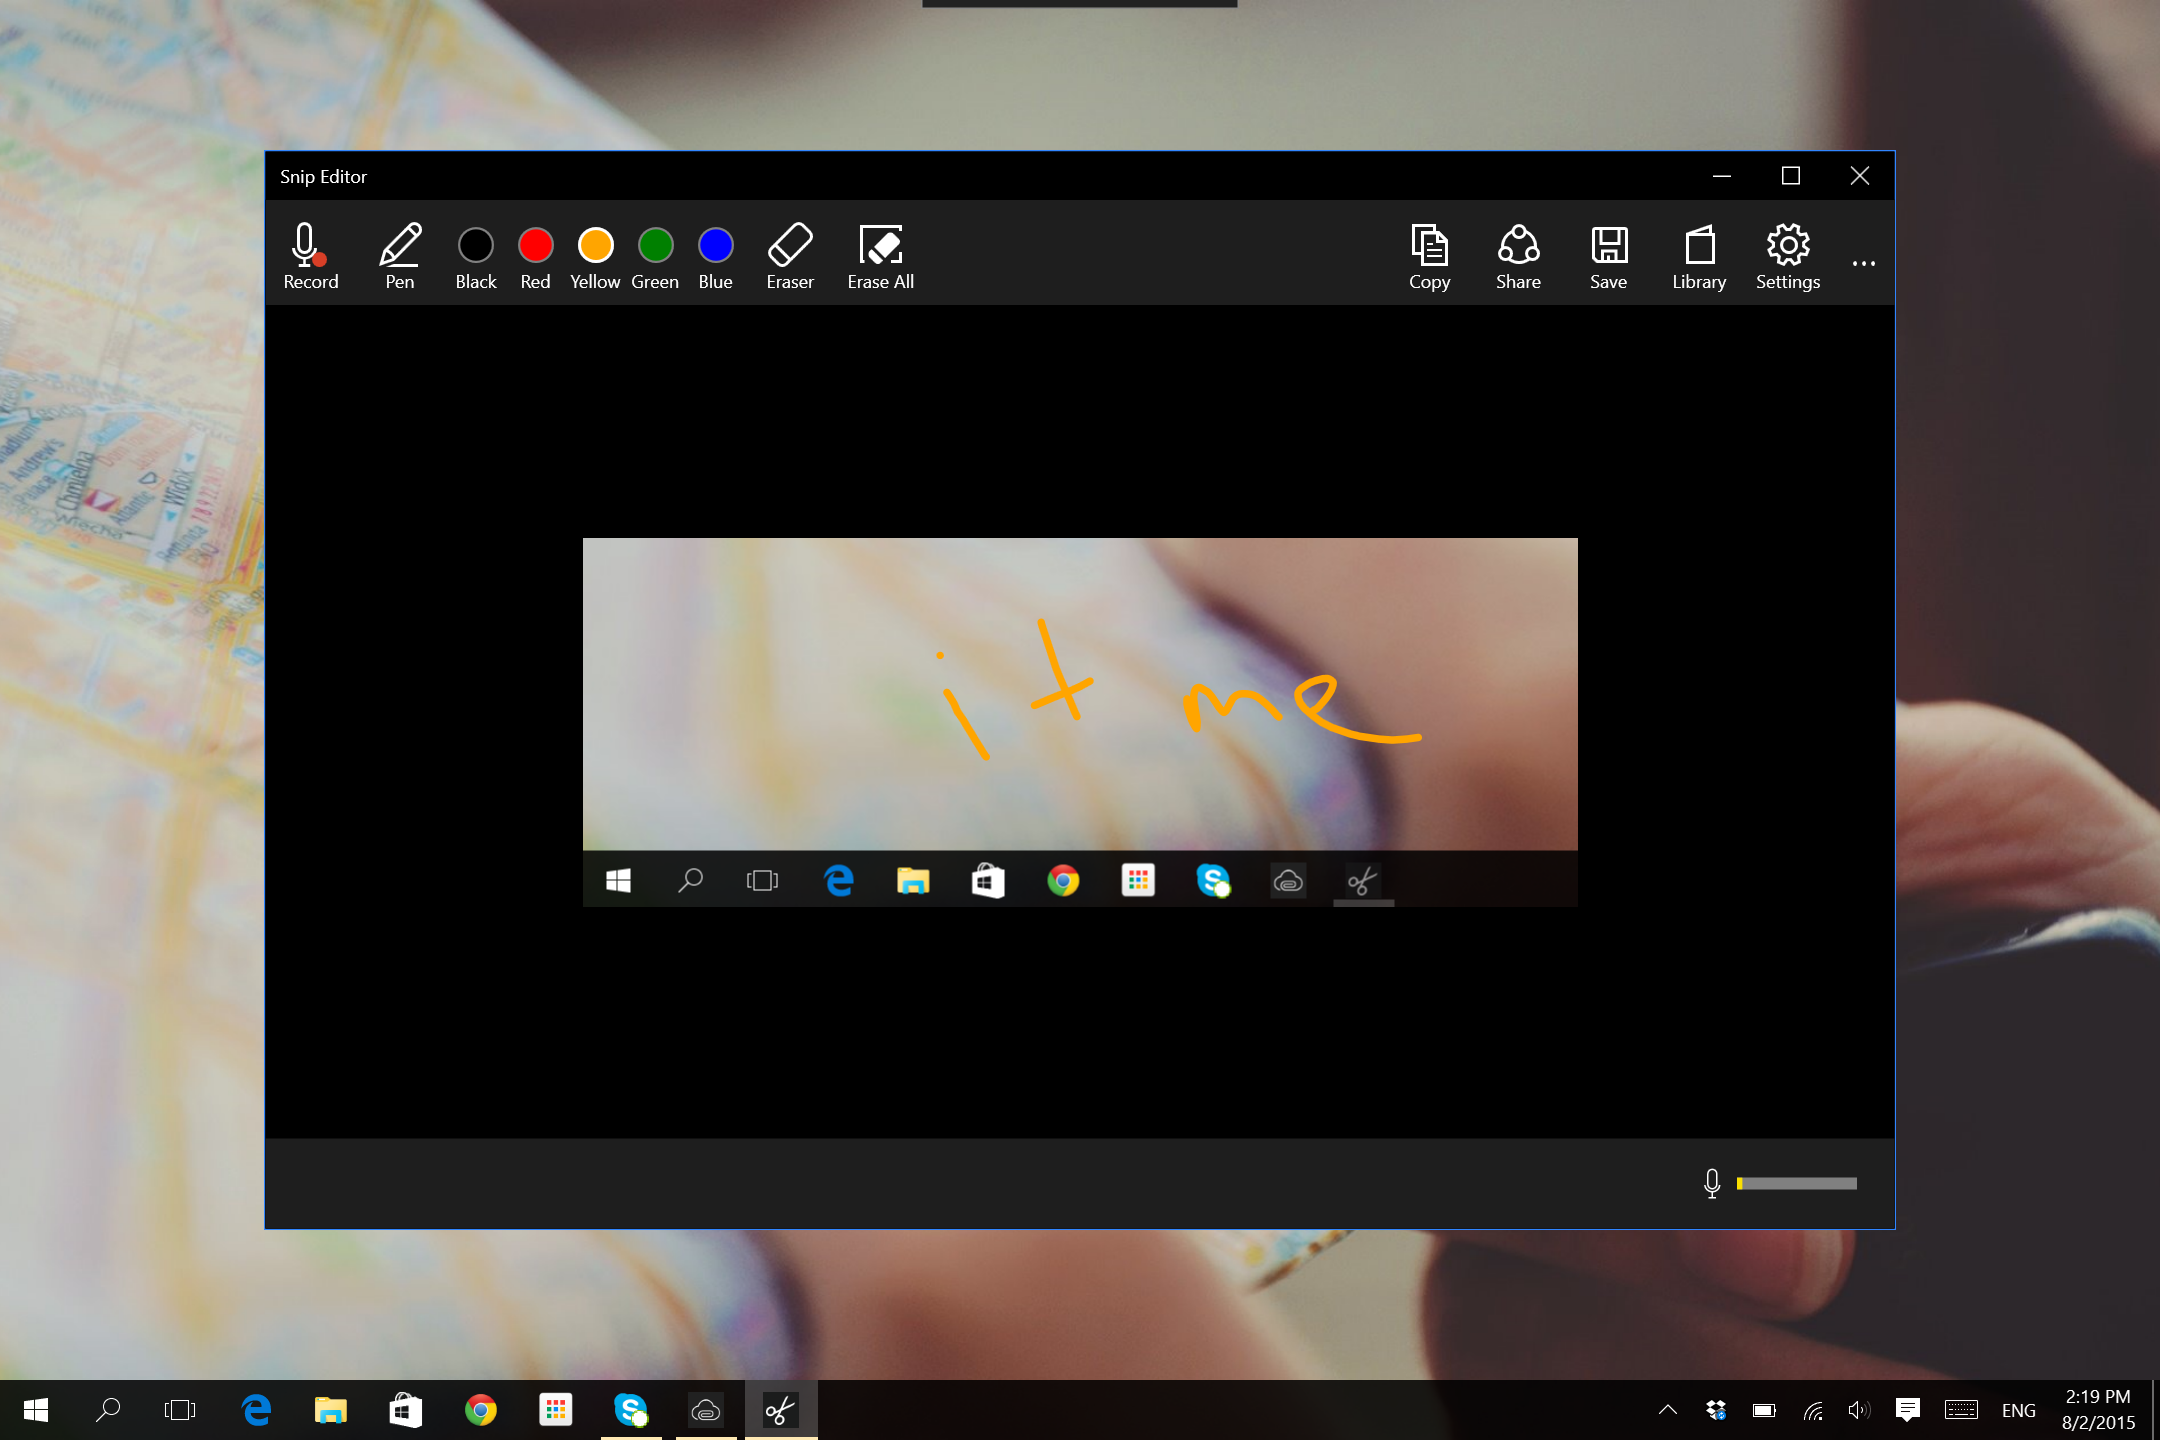
People have got used to using the Windows Snipping Tool every day to communicate our ideas by emailing screenshots. Snipping has come with Windows 10 giving a modern experience that looks and feel like we can narrate snips with our voice and digital ink. Microsoft team has brought these ideas to life with Snip, it’s their tool of choice to create media-rich, annotated screen captures. Screen Sketch application previously bundled with the Windows Ink feature of Windows 10, but now it is made into a separate app that can take screenshots and provide options to annotate them. The modern snipping experience is here to help you effortlessly capture and annotate what you see on your screen. If you had a try on this app, definitely you will find the flow and tools are optimized for sharing and make communicating visually with others quickly and easily.
Sometimes the simplest things become more powerful. Snip is altering how people think about communicating their ideas and providing feedback on others’ ideas. This newly introduced application provides an easier way to take screenshots and construe. Also, you can add an audio to your screenshot. With Snip, you can use digital ink and add your comments to screenshot. The most considerable requirement is that people want to quickly snip & share the screenshot when they want to share information. Now it is an easy snipping that’s only a single step away.
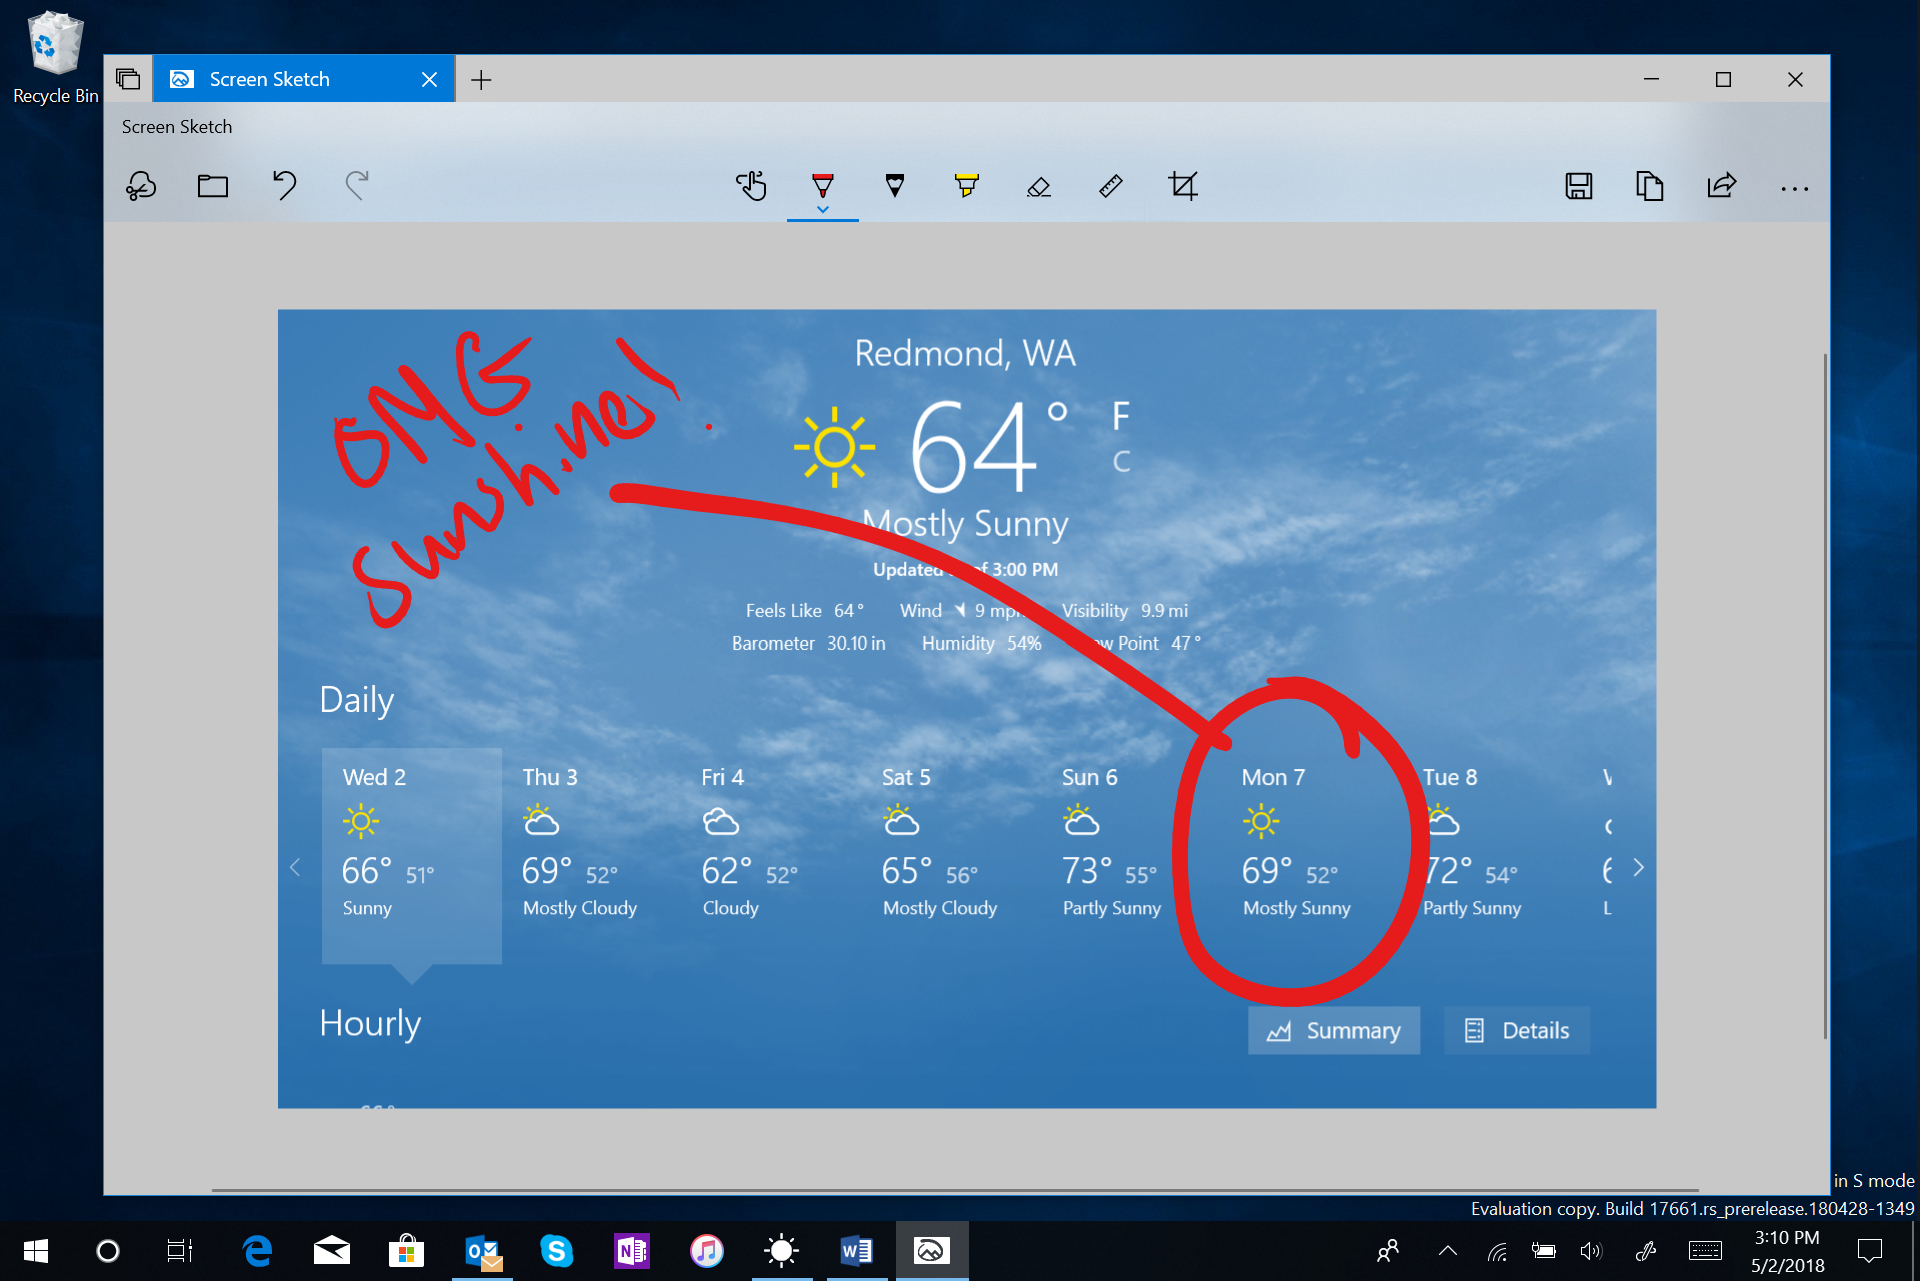
Users can easily take their screenshot with the shortcut “Windows key + Shift + S” when they want to take the whole screen as an image. But without capturing the full screen, the updated feature operates like the ‘snipping tool’ that drags an area to save as an image. The application stimulates a notification so you can annotate the screenshot and share it.
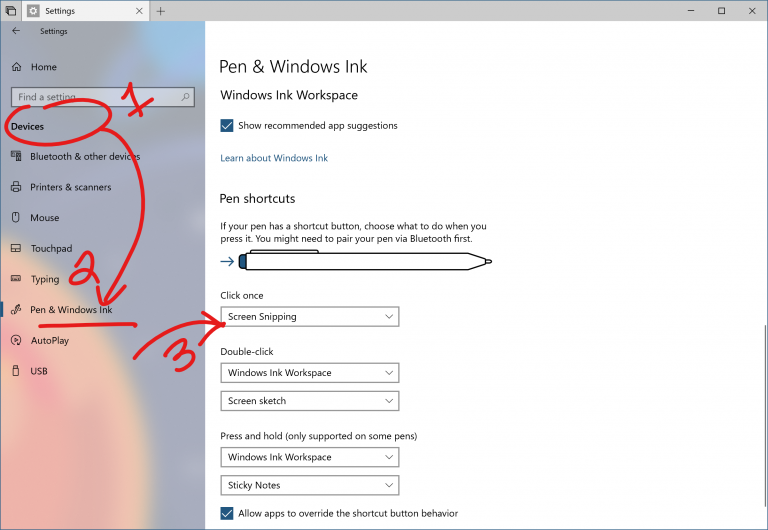
Well, if you feel that the shortcut is not easy to remember, here you have another option. If you have a pen, go into Pen & Windows Ink Settings.There you’ll find Screen Snipping is now an option for a single click. This will initiate you directly into our snipping experience. Then you have to press “Print Screen”. It’s not enabled by default, go to Keyboard Settings, then you’ll see a new option that says “Use the Print Screen key to launch screen snipping”. By opening Settings and searching for “print screen” you can reach the correct page. Then you have to Press the quick action button in “Action Center”. Here you may find a button for “Screen snip”.It should be there as soon as you upgrade, but if not you can always enable it via Notifications & Actions Settings.
Team Microsoft always presents snipping in a way that’s easy to use and compelling. Normally by the time, people’s behavior is changing rapidly. For now, we can download Snip, give it a try to feel the smartness of this application.


")
