
This blog post explains how to Authorize the Azure VPN application and P2S settings for Microsoft Entra authentication and set up the Azure VPN Client on a Windows PC so that it can establish a point-to-site (P2S) VPN connection with a VPN Gateway and authenticate users using Microsoft Entra.
Only connections using the OpenVPN® protocol are compatible with Microsoft Entra authentication, which calls for the Azure VPN Client.
Authorize Azure VPNGW App
Step 1: Access the Azure portal by logging in as the user who has been given the Global administrator role.
Step 2: Next, give your organization’s admin permission. This enables user profile reading and sign-in for the Azure VPN application. In your browser’s address bar, copy and paste the URL that corresponds to your deployment location:
Azure Public -->"https://login.microsoftonline.com/common/oauth2/authorize?client_id=41b23e61-6c1e-4545-b367-cd054e0ed4b4&response_type=code&redirect_uri=https://portal.azure.com&nonce=1234&prompt=admin_consent"
Step 3: If asked, choose the account that is assigned the position of Global administrator.
Step 4: Click Accept on the Permissions requested page
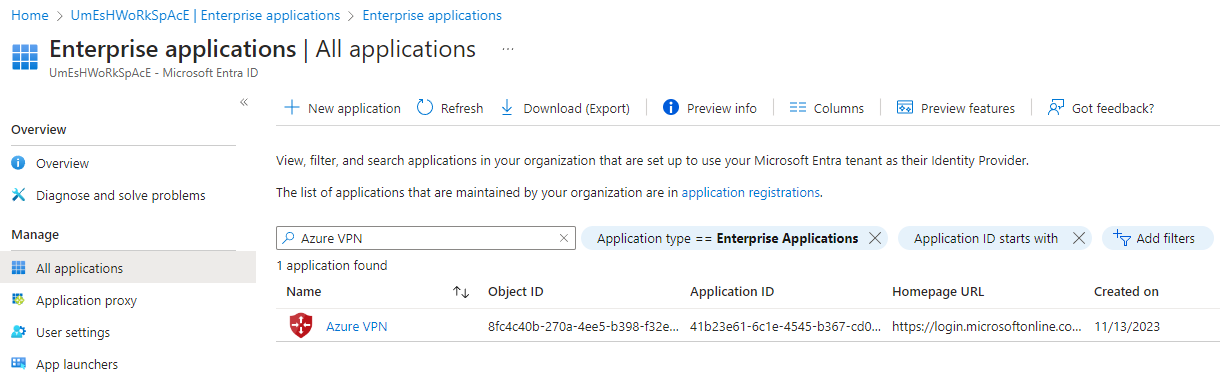
Step 5: Navigate to Microsoft Entra ID and click on the Enterprise Applications. Here you can see the Azure VPN application.
Configure authentication for the gateway
Step 1: Find the directory’s tenant ID that you wish to utilize for authentication. It is mentioned in the Active Directory page’s properties section.
Step 2: Establish and configure a point-to-site VPN gateway by creating a point-to-site VPN. The Basic SKU isn’t compatible with OpenVPN when creating a VPN gateway.
Step 3: Navigate to Point-to-site configuration in your VPN gateway.

Address pool: client address pool
Tunnel type: OpenVPN (SSL)
Authentication type: Microsoft Entra ID
Use the following recommendations for Tenant, Audience, and Issuer values for Microsoft Entra IDs. Make sure to remove {} from the samples when you substitute {AzureAD TenantID} with your tenant ID.
- Tenant: Tenant ID for the Microsoft Entra tenant. Enter the tenant ID that is appropriate for your setup. Verify that the Tenant URL is complete and does not contain a \.
- Audience: The Application ID of the “Azure VPN” Microsoft Entra Enterprise App.
*Azure Public: 41b23e61-6c1e-4545-b367-cd054e0ed4b4
- Issuer: secure token service’s URL. Add a trailing slash to the Issuer value’s conclusion. If not, the connection can break.
Step 4:After completing the configuration, select Save at the top of the screen.
Download the Azure VPN Client profile config files
You create and download the Azure VPN Client profile configuration package in this part. The configuration settings for the Azure VPN Client profile for client PCs are included in this package.
Step 1: Click Download VPN client at the top of the Point-to-site settings screen. The client configuration package takes a while to generate.
Step 2: A client configuration zip file is available, according to what your browser is indicating. It has the same name as the gateway you have.
Step 3: Extract the downloaded zip file.
Step 4: Navigate to the unzipped “AzureVPN” folder.
Step 5: down where the “azurevpnconfig.xml” file is located. The VPN connection’s settings are located in the azurevpnconfig.xml file. This file can also be sent by email or another method to every user who needs to connect. To effectively connect, the user will require valid Microsoft Entra credentials.
Download the Azure VPN Client
Step 1: Use one of the following links to download the most recent installation files for the Azure VPN Client:
- Install using Client Install files
- Install directly, when signed in on a client computer: Microsoft Store
Step 2: Install the Azure VPN Client to each computer.
Step 3: Check if the Azure VPN Client is authorized to operate in the background.
Step 4: Open the Azure VPN Client to confirm the installed client version. Click… ->? at the bottom of the client. Aid. The client version number appears in the right pane.
Import VPN client profile configuration files
Azurevpnconfig.xml is used for Microsoft Entra authentication setups. The VPN client profile configuration package’s AzureVPN folder contains the file.
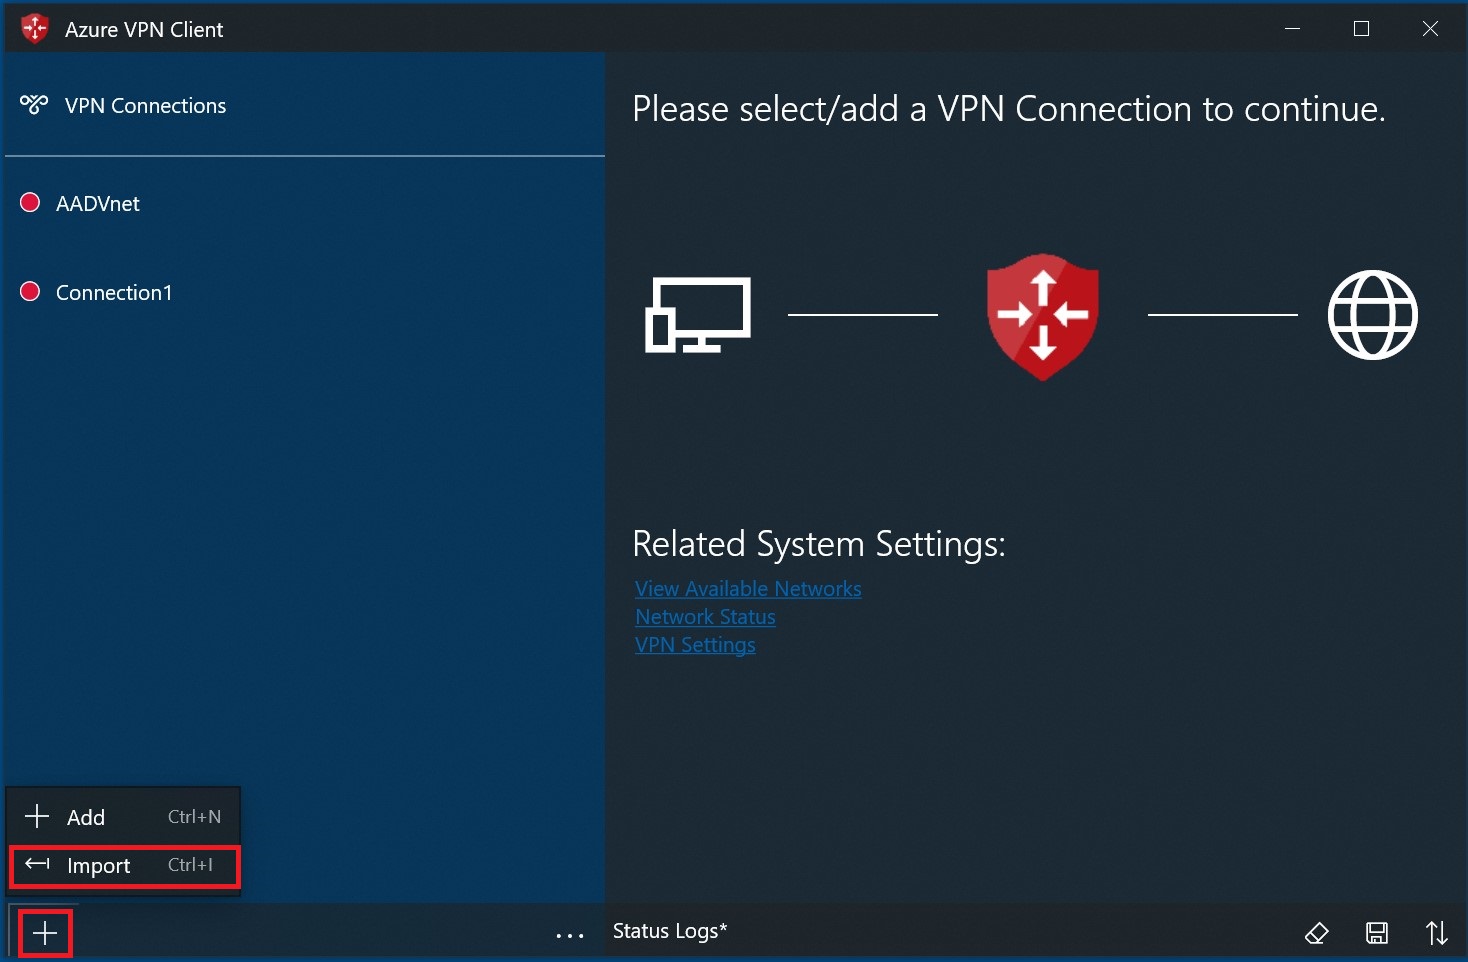
Step 1:On the page, select Import.
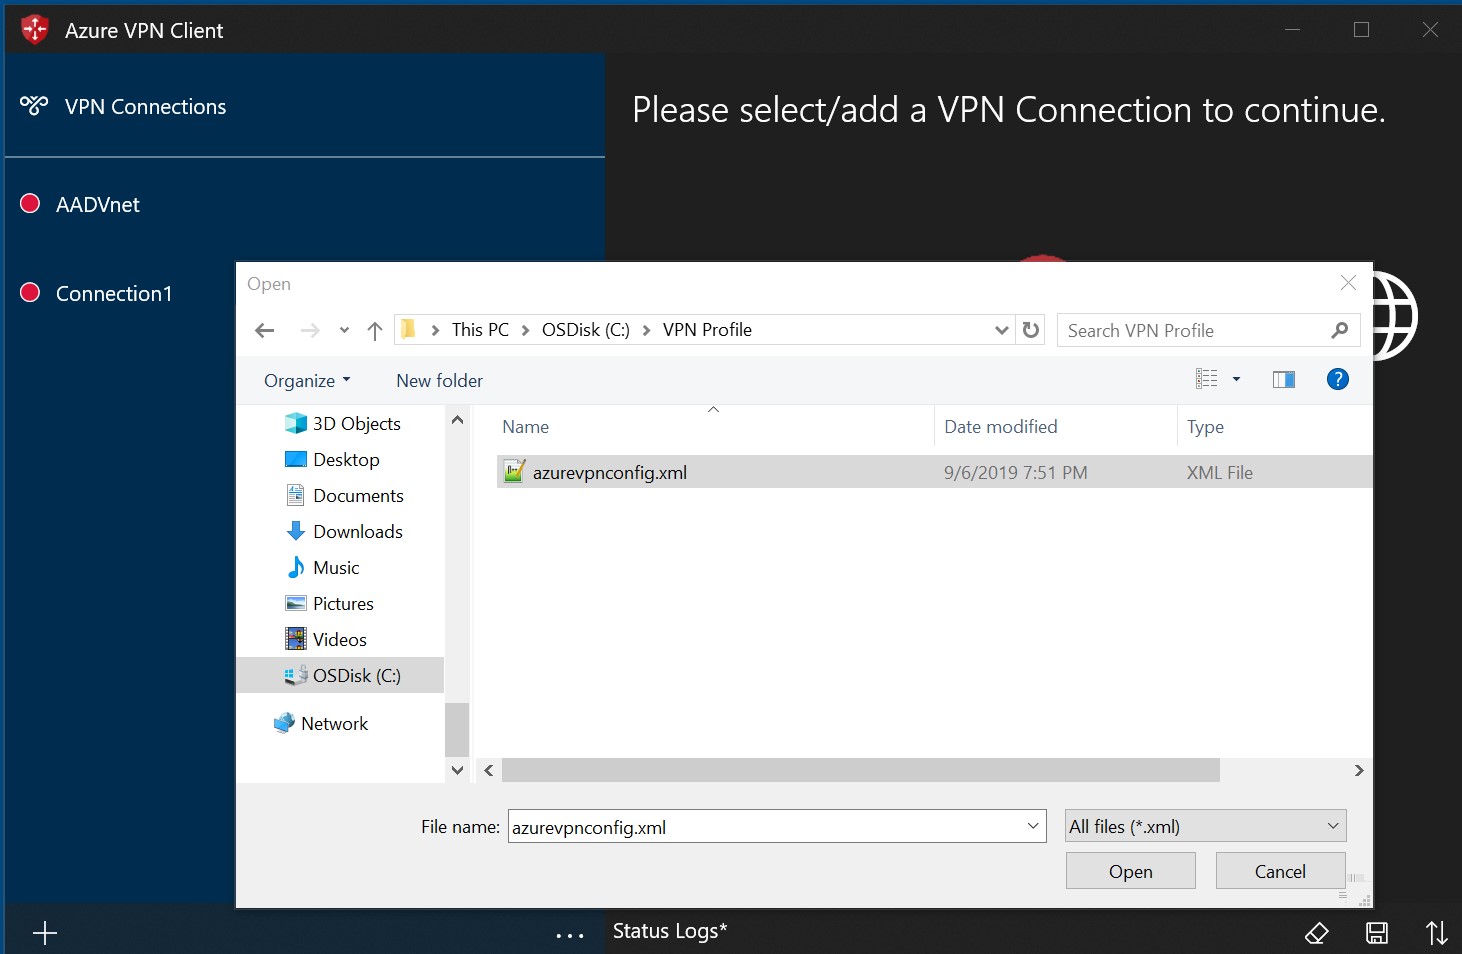
Step 2: Locate and pick the profile xml file. Choose Open when the file is selected.
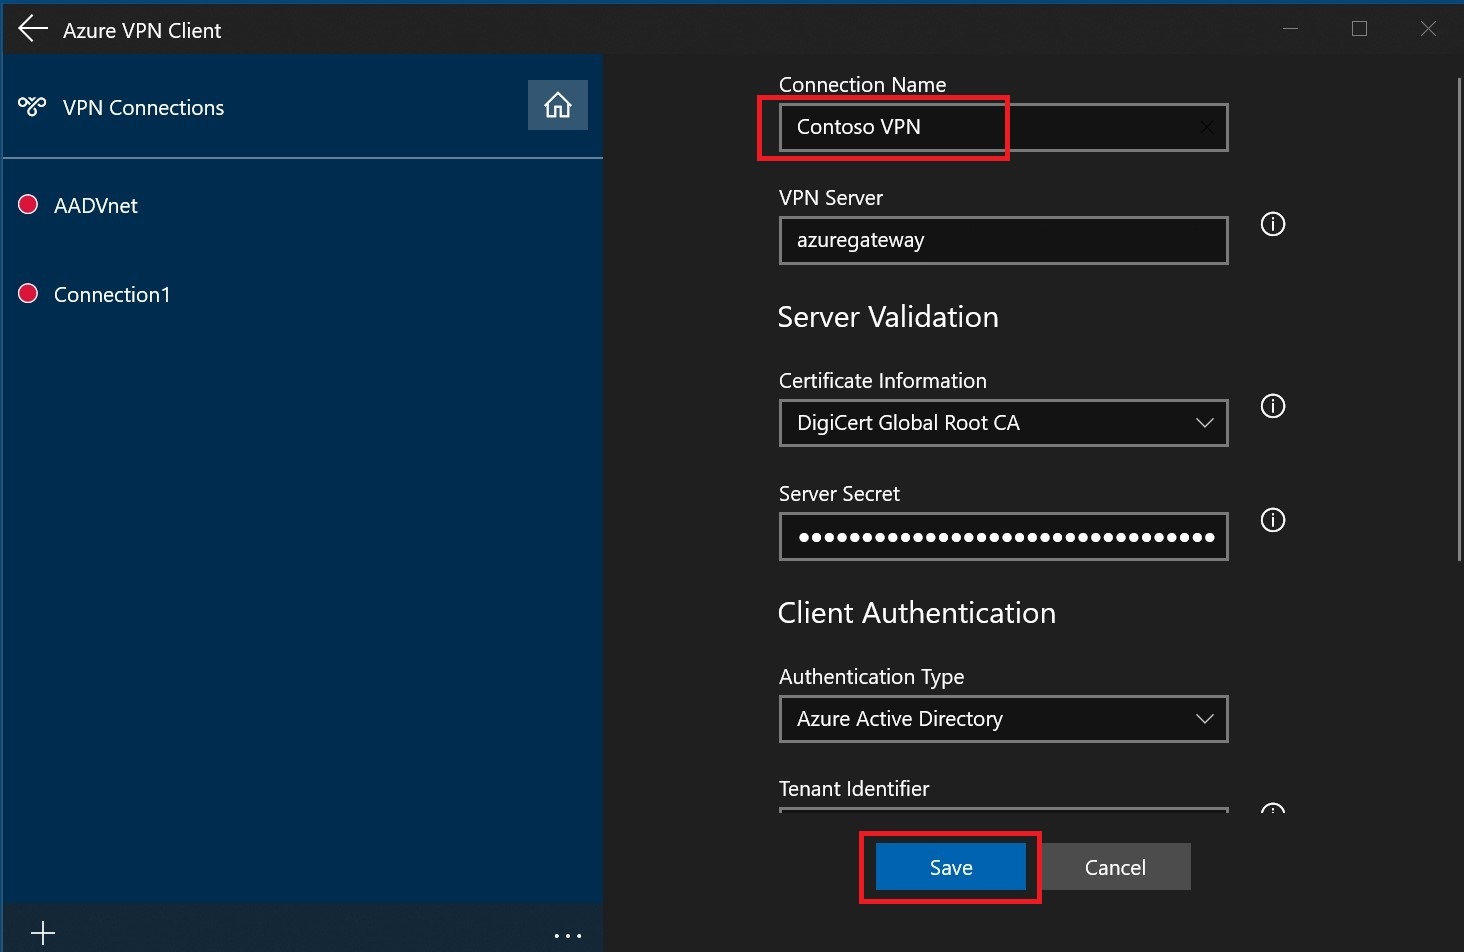
Step 3: Give the profile a name, then click Save.
Step 4: To establish a VPN connection, select Connect.
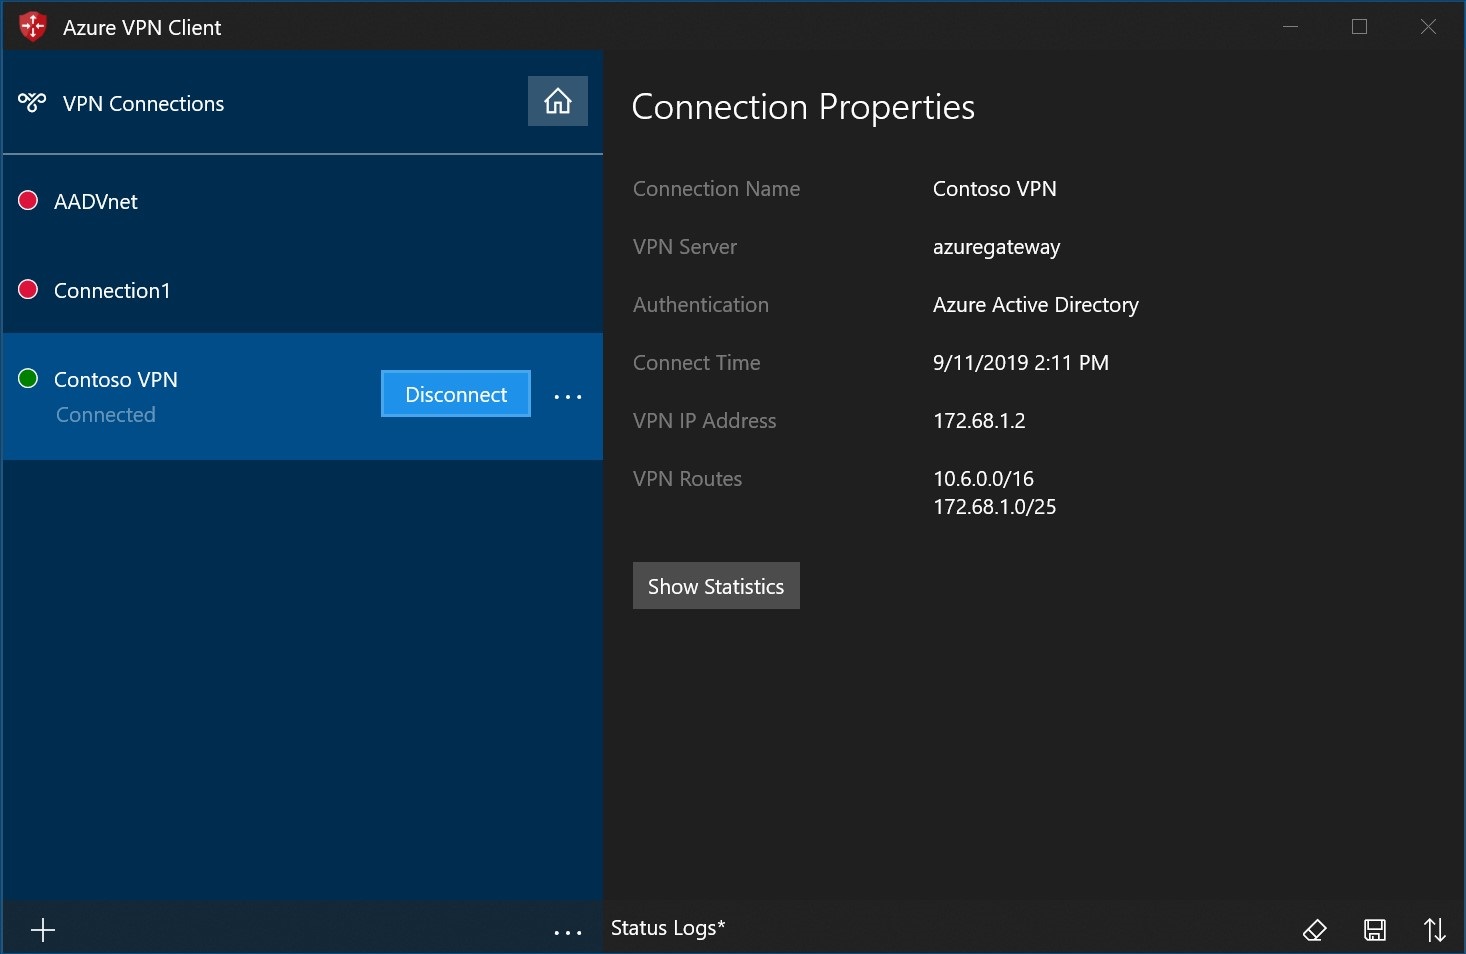
Step 5: The icon will change green and read “Connected” after it is connected.
Create a connection
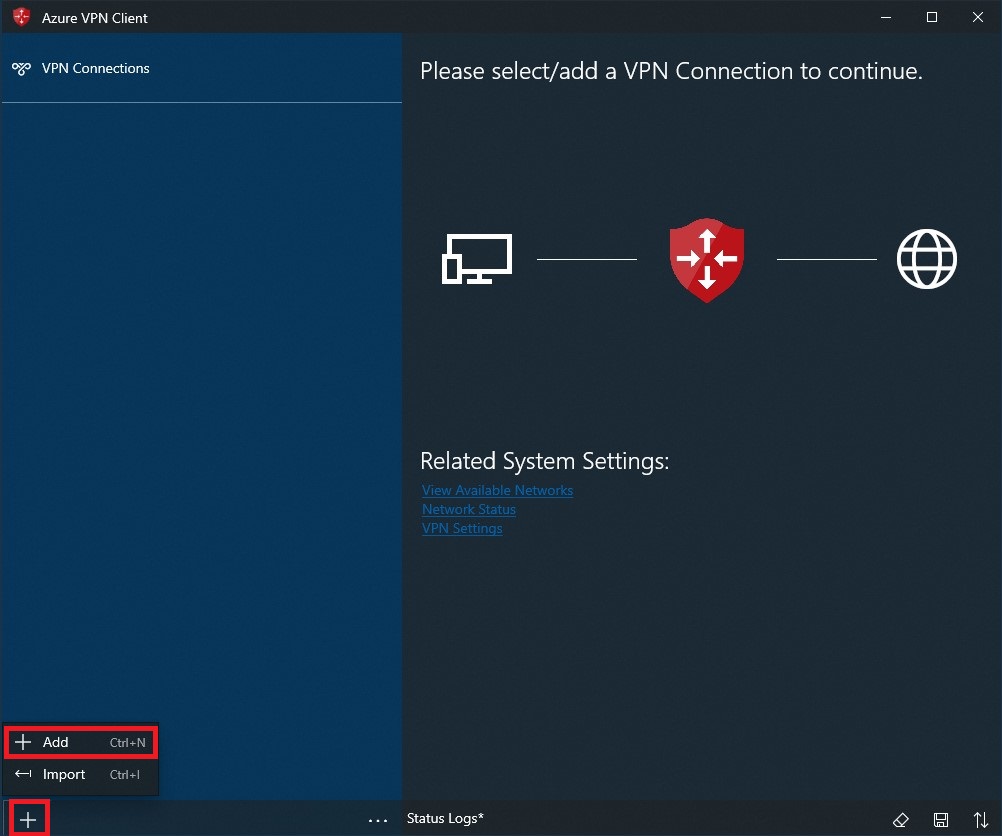
Step 1: On the page, select +, then + Add.
Step 2:Complete the connection details. Ask your administrator if you have any questions about the values. Choose Save once the values have been entered.
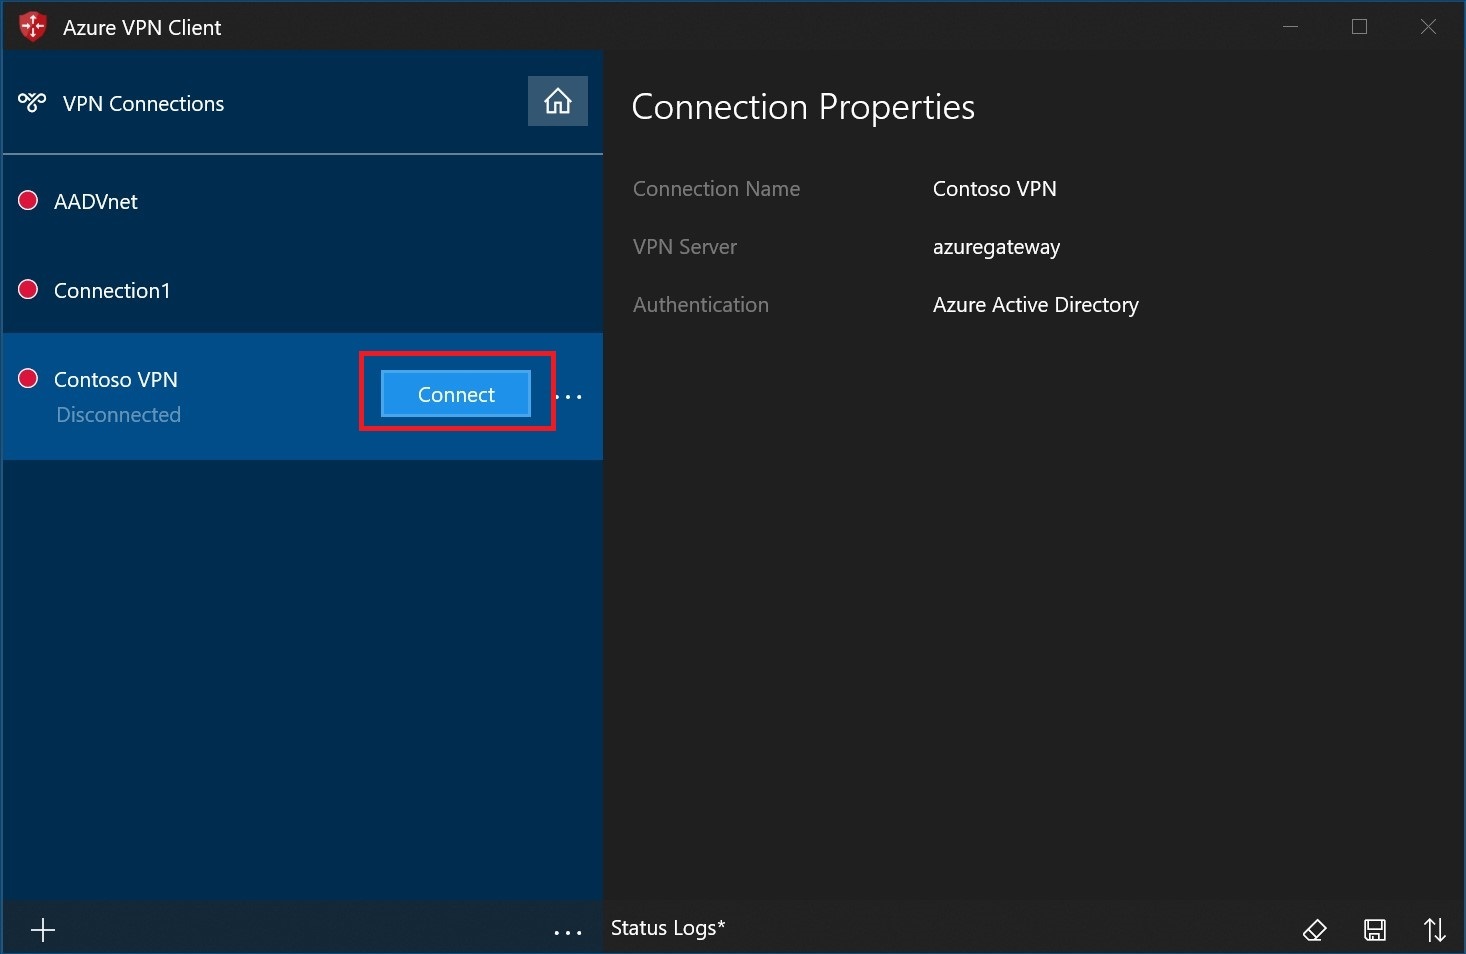
Step 3: Select Connect to connect to the VPN.
Step 4:After choosing the appropriate credentials, click Proceed.
Once successfully connected, the icon will turn green and say Connected.


")
